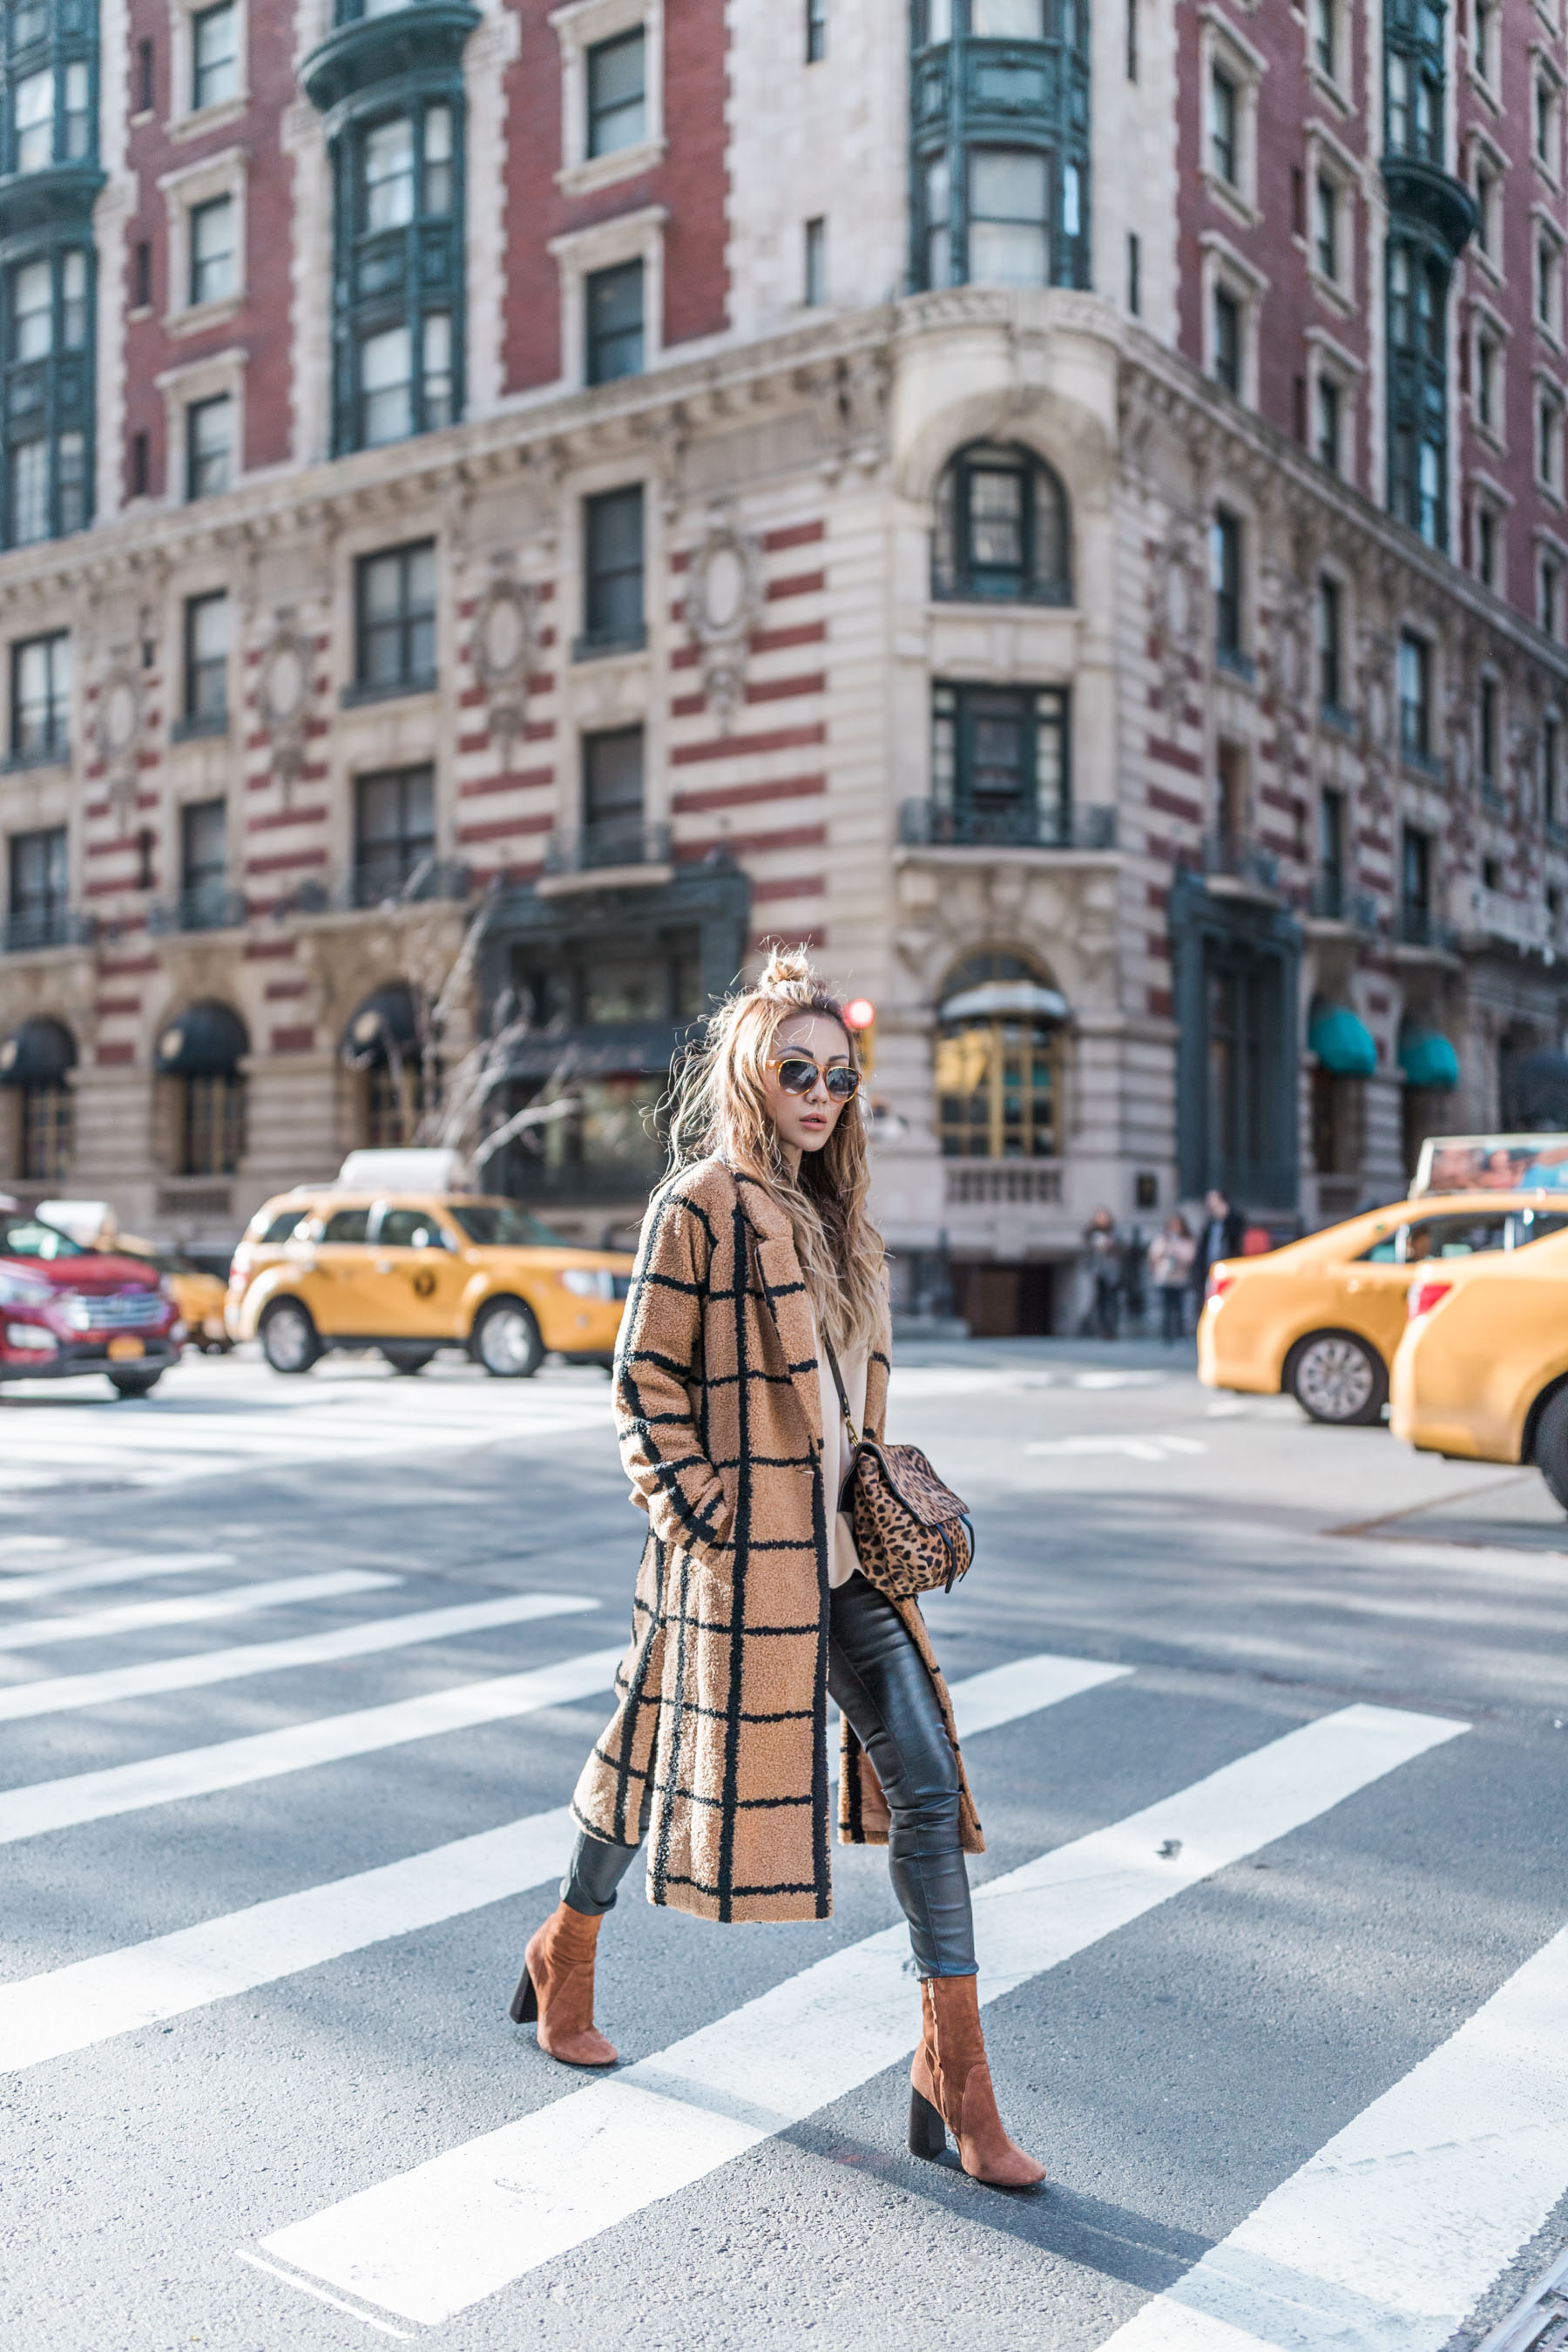
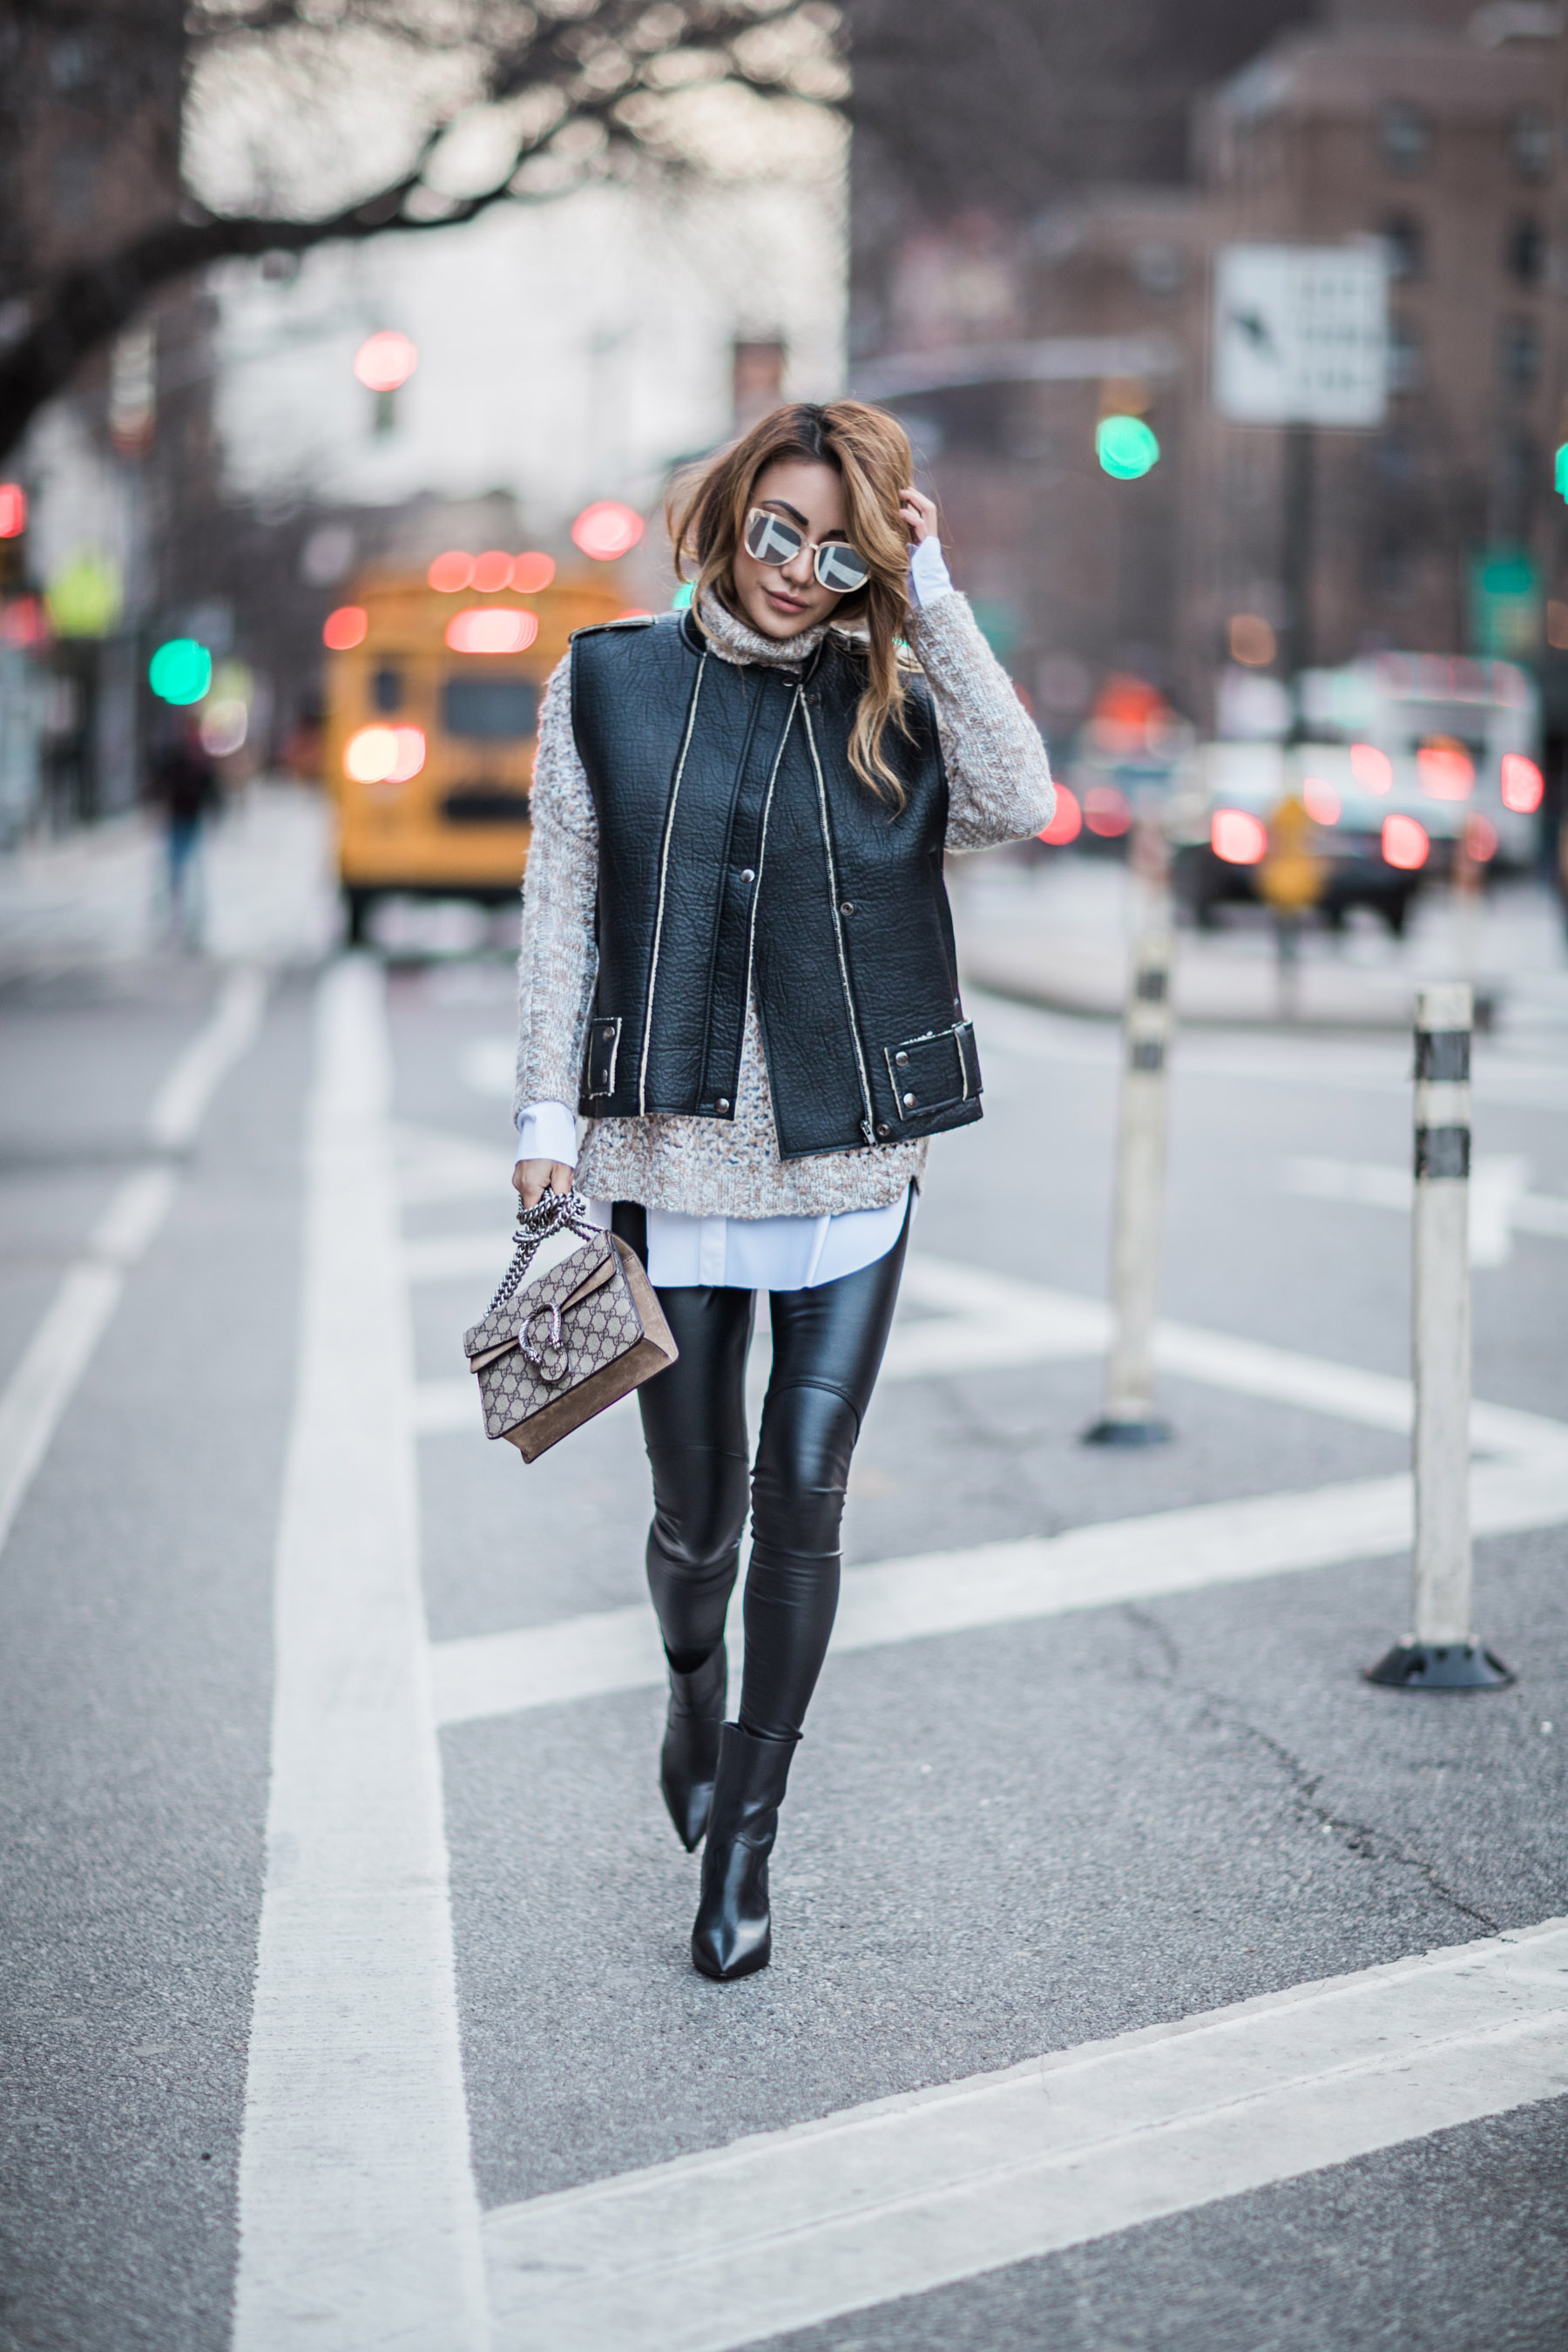
Coat: (similar here) | Sweater: (similar here) | Bag: (similar here) | Pants: (similar here) | Boots: (similar here)
Next to “what are you wearing?” or “where is that from?”, my most asked questions pertain to photography and blogging. I’m happy to finally ease into these topics and resolve your concerns, so ask away – EVERYTHING that you want to know – in the comments down below and let’s turn this into a weekly series. Today, I’ll start off with essential photography tips for new bloggers. I’m extremely lucky to have a creative-minded and talented husband (Dan) who produces my photos. We often work together in making everything that you see on here happen. And with Instagram and Pinterest piquing the attention of every person and brand, we know that stunning photographs is one of the most crucial assets you need to be able to deliver.…
…
But before you start throwing money, time, and energy into an expensive hobby, check out “The Ultimate Camera Guide for Bloggers” and Read our top photography tips for new bloggers here:
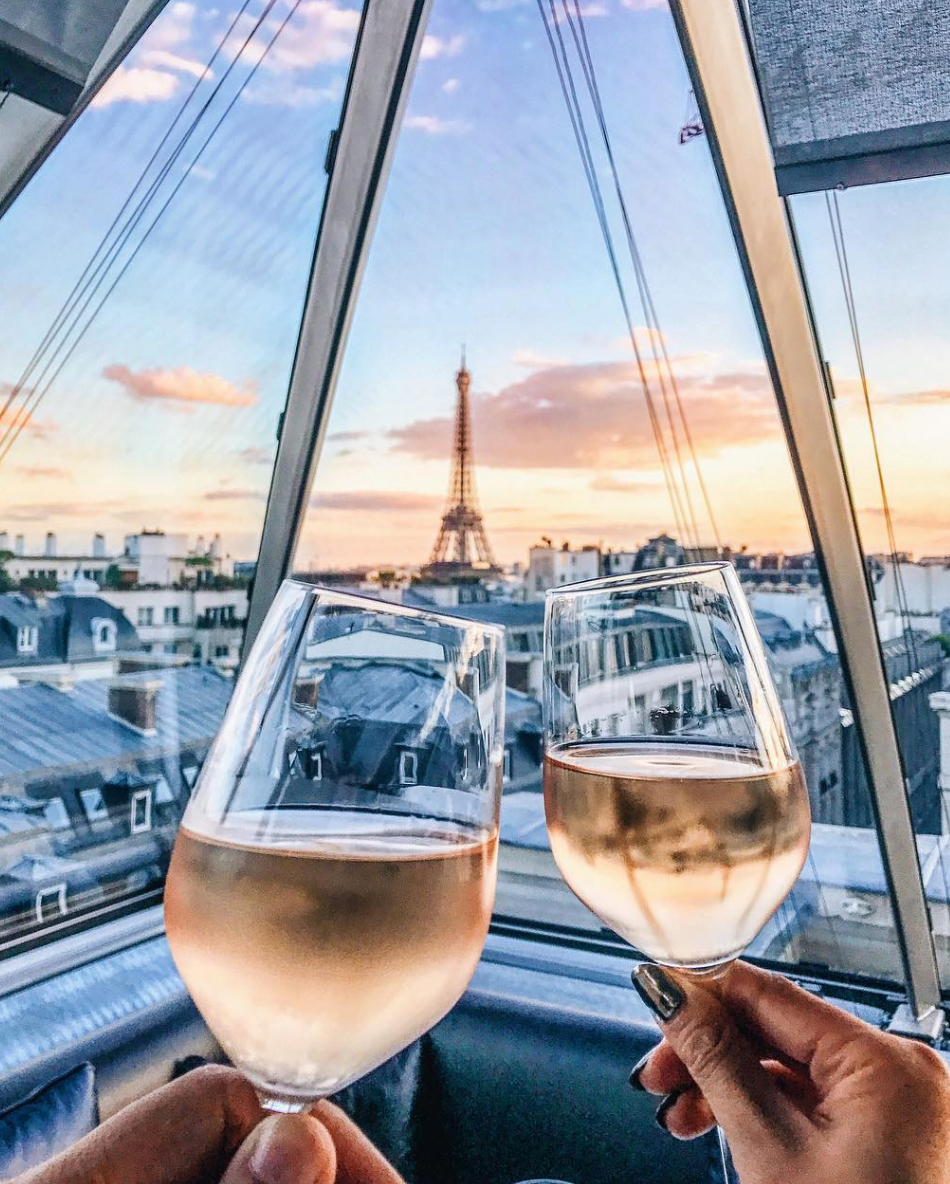
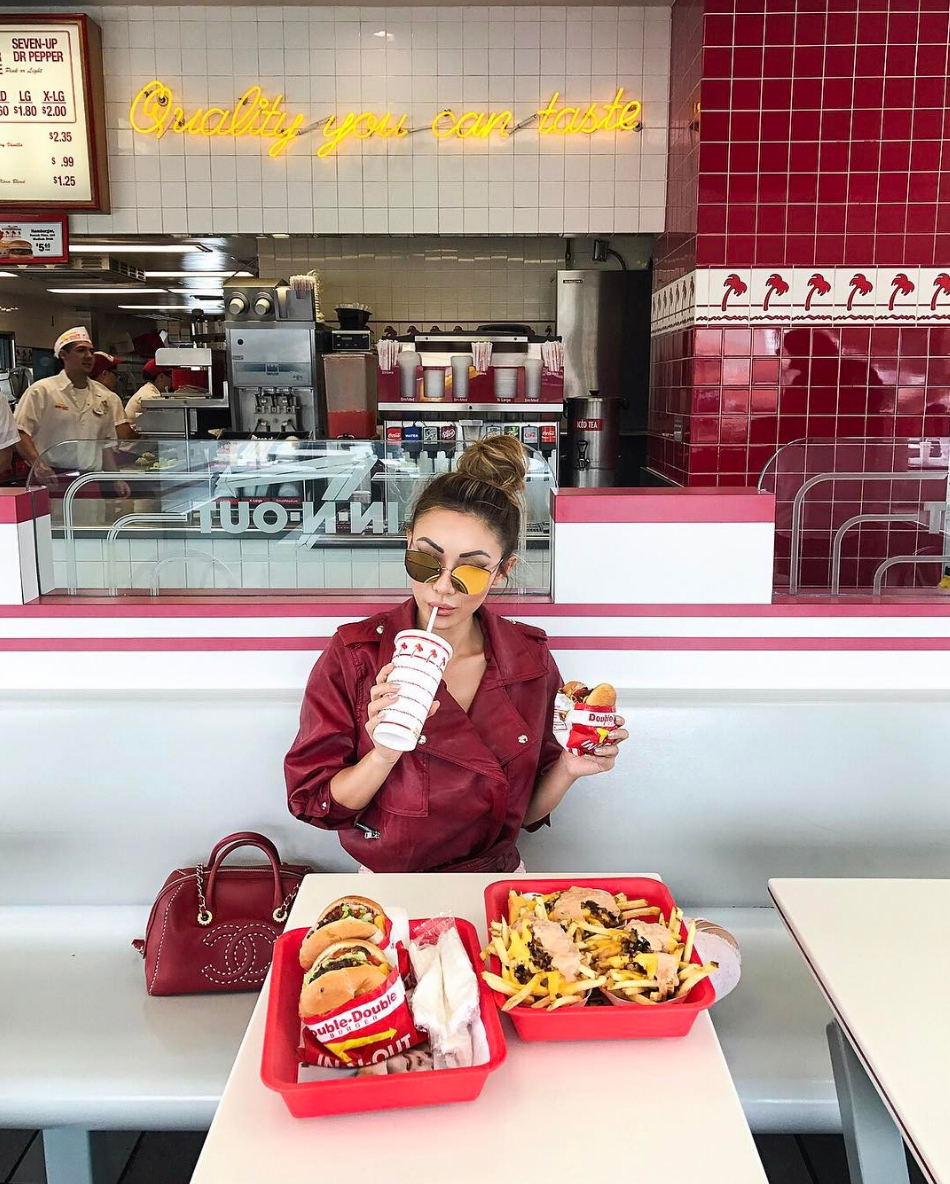
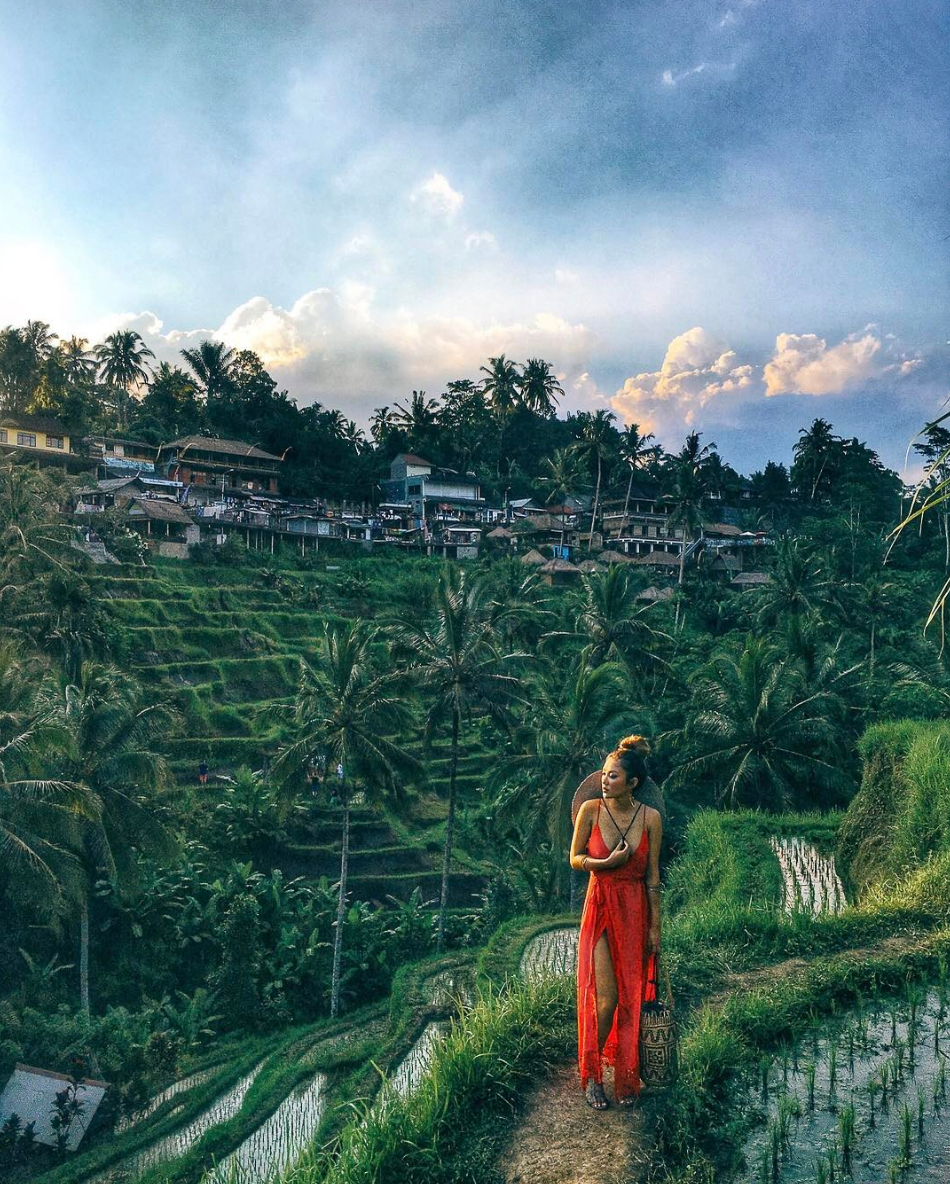
1. Don’t get too bogged down on your camera equipment.
I can’t tell you how many times I’ve been asked, “What camera are you using?” So I think it’s extremely important for me to make a point about camera equipment being almost irrelevant to the quality of your photos. Think of your equipment as a tool that enables you to produce something. No matter how expensive your camera is, you won’t be able take beautiful photos if you have no idea how to use it. That being said, almost anything that snaps pictures can become a medium for making amazing photographs, including your iPhone (like the three images above – all came straight from my phone). I do realize that at some point, equipment upgrades do need to happen, so stay tuned for a “What’s in My Camera Bag” post to come!
Key Lesson: When it comes to camera gear, start out with something that you can afford whether it’s an entry-level Canon, Nikon
, or Sony
– or a DSLR
, mirrorless
, or point and shoot
. Learn how to use it, and make the best of it.
2. Know the technical basics.
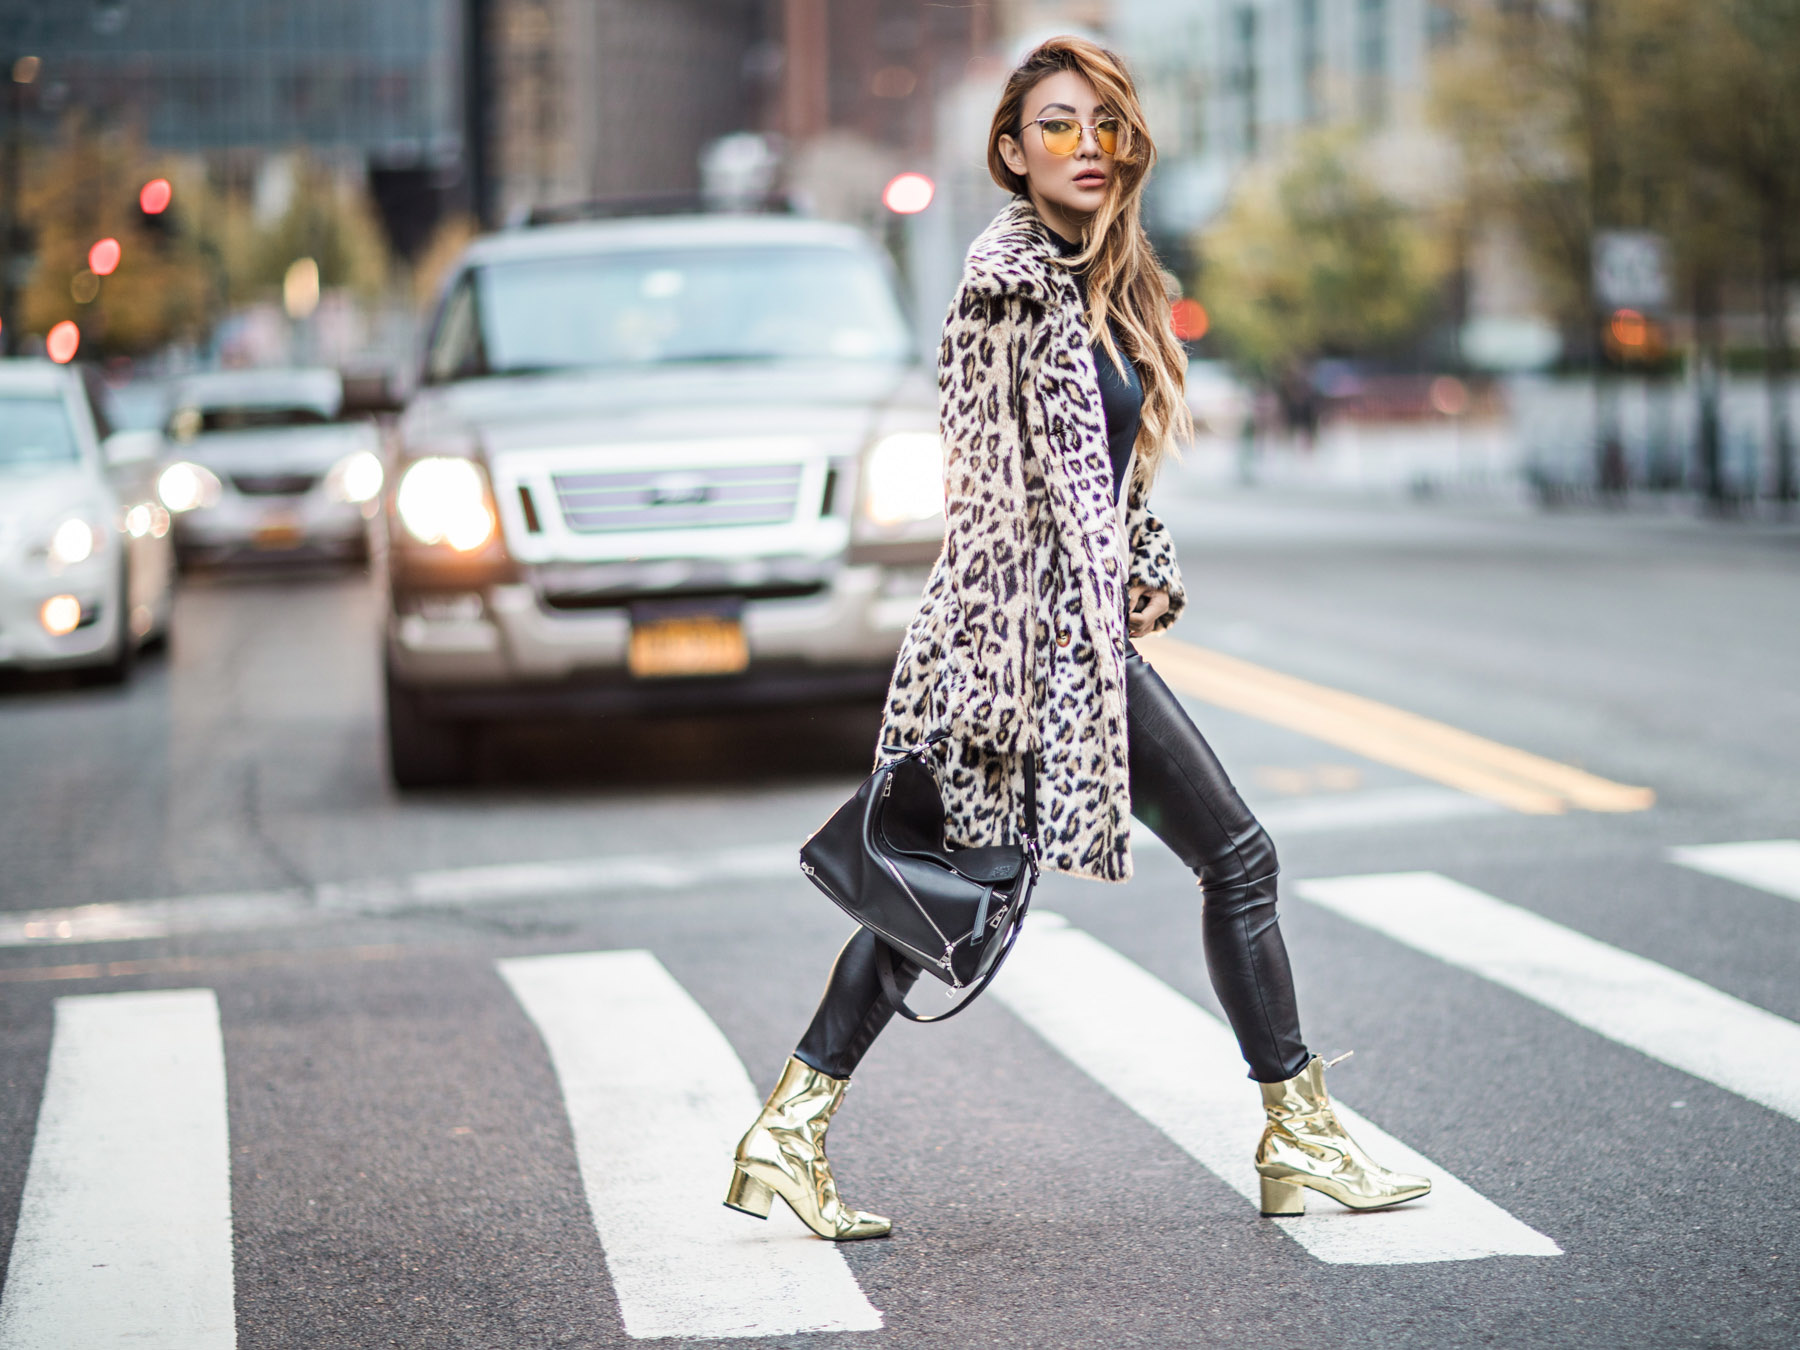
Again, an expensive camera won’t serve you a great purpose unless you know how to use it. Here, I’m referring to the exposure triangle and shooting in manual mode. I won’t dive too deep into what all of that means because a quick Google search will take you a long way. But, take the time to learn how all the elements of the exposure triangle (aperture, shutter speed, and ISO) work together to create an ideal result. Without this critical knowledge, you’ll never be happy with the outcome of your images. You also need to learn how to properly focus a shot, so that you have sharp images to work with.
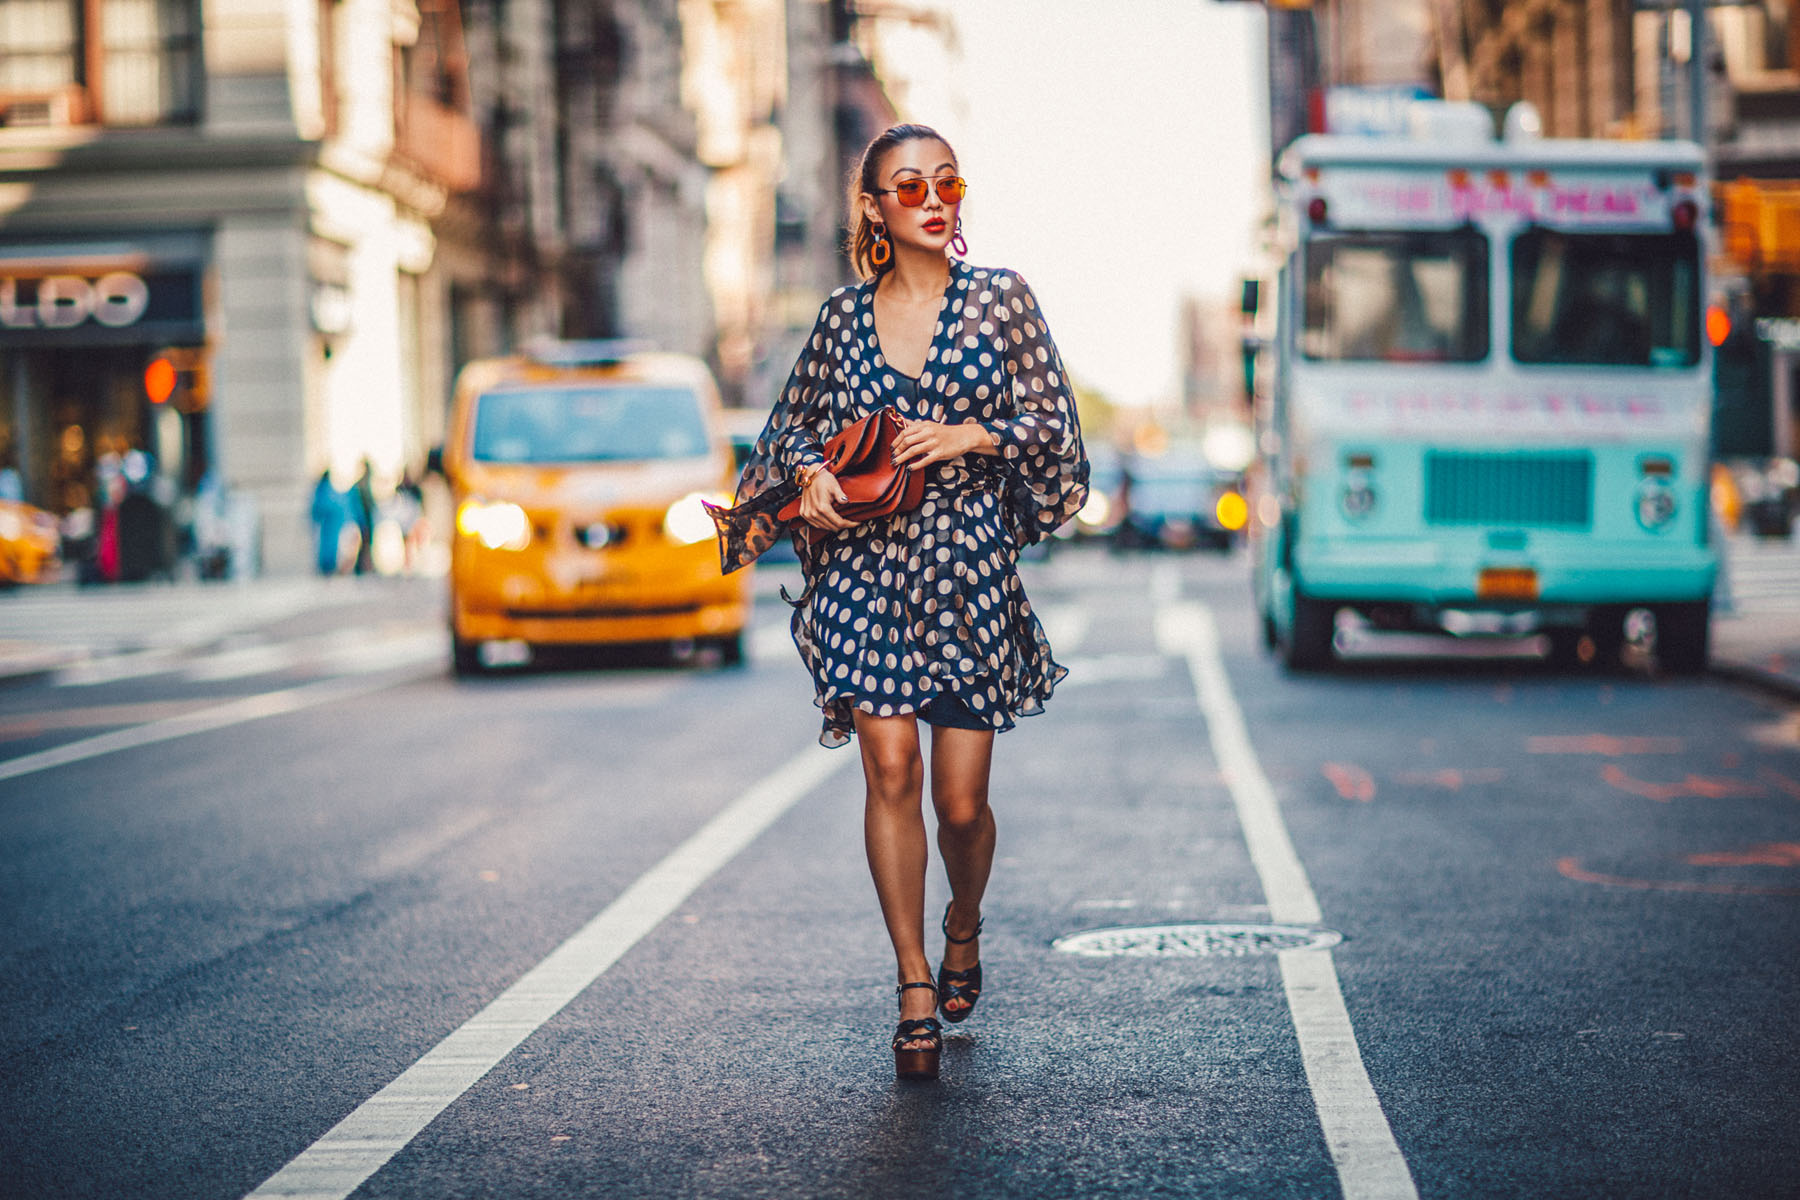
If you take a look at these two images (above and left), you can easily see the role that manual mode played. Dan used a faster shutter speed in order to capture me in stride. And then, he also used a wider aperture to achieve the dreamy, blurry background. Also, note how both images are sharp – meaning you can see the details, edges, and color in my clothes and face clearly. No one likes out-of-focus photos.
Key Lesson: First and foremost, learn how to shoot in manual mode and perfect your focusing technique.
3. Styling, light, and location make a world of difference.
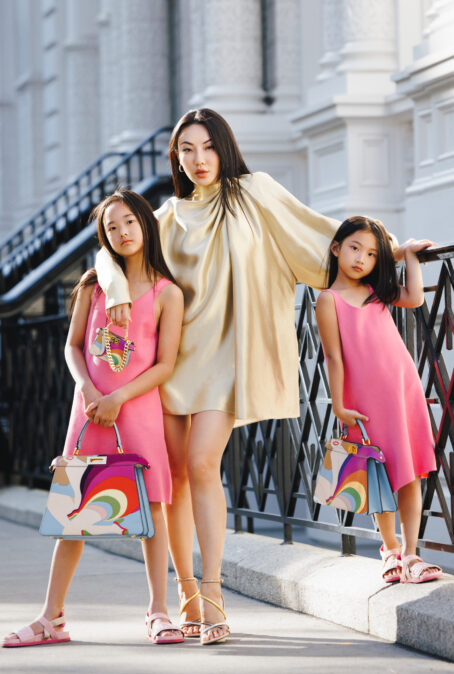
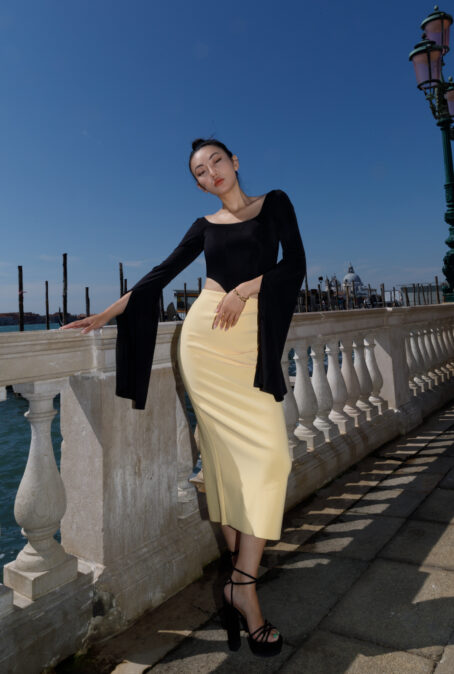
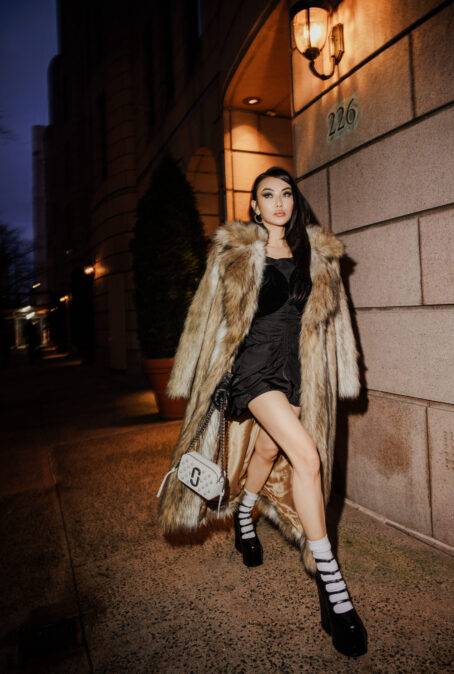
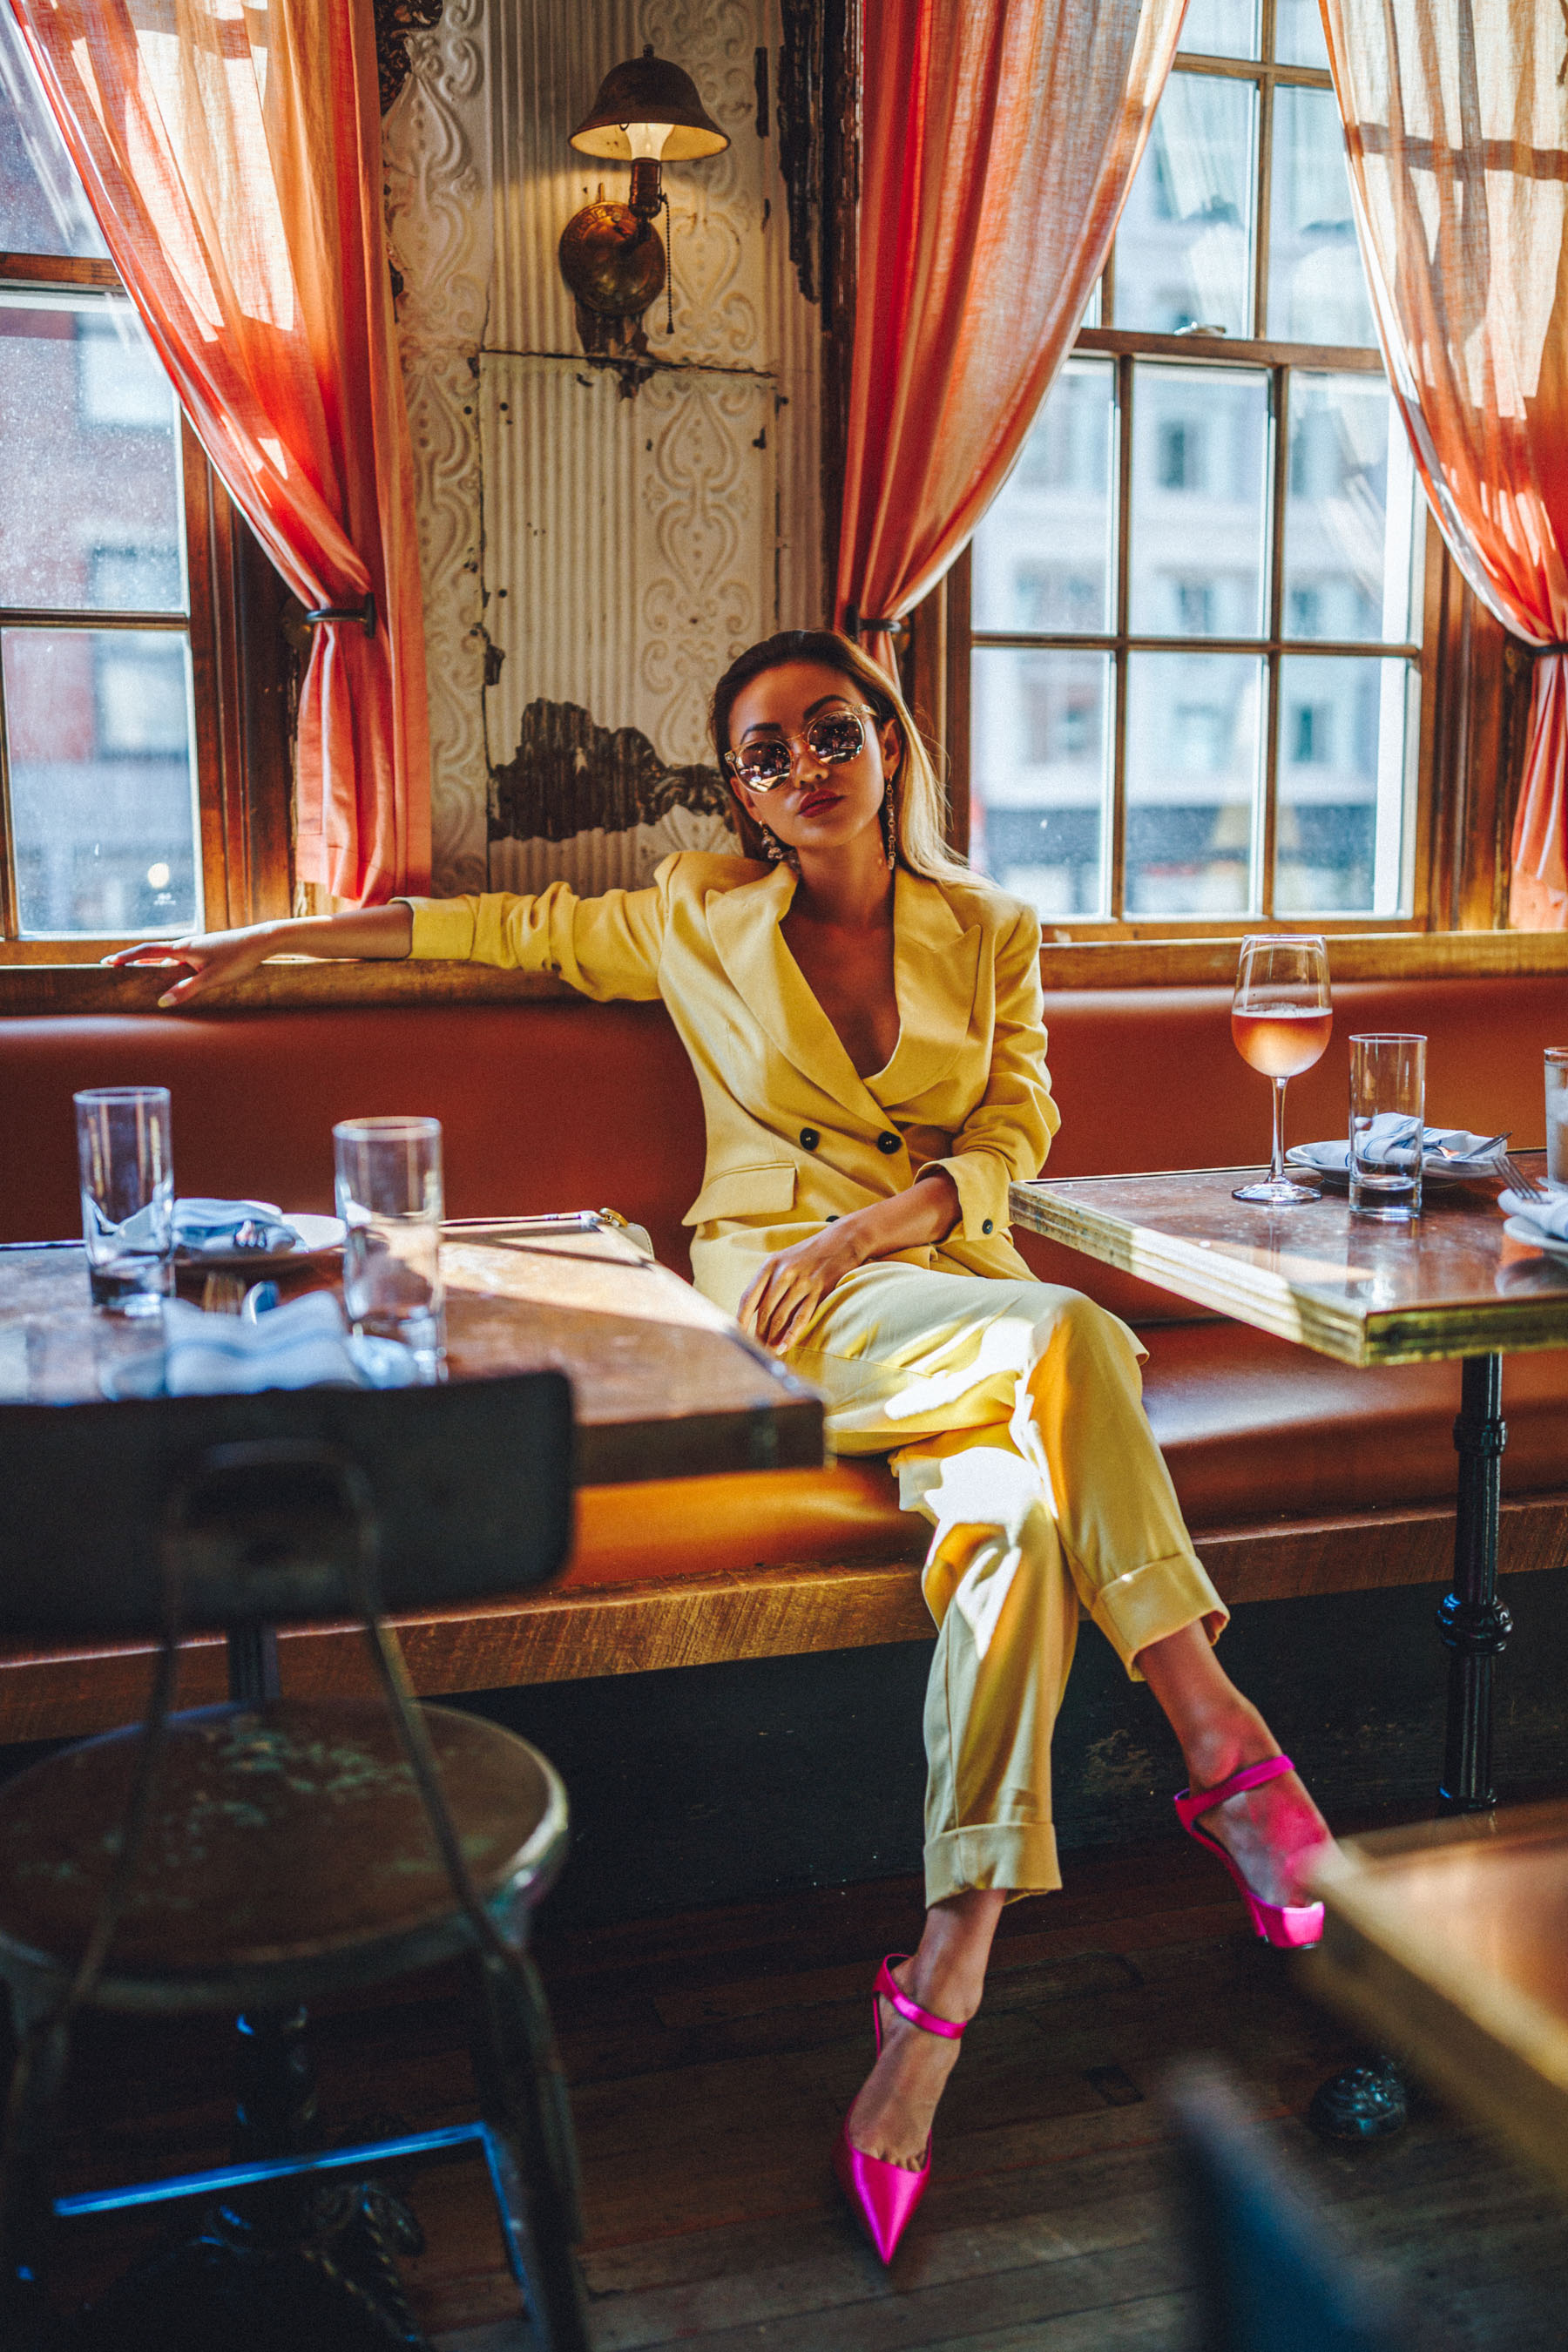
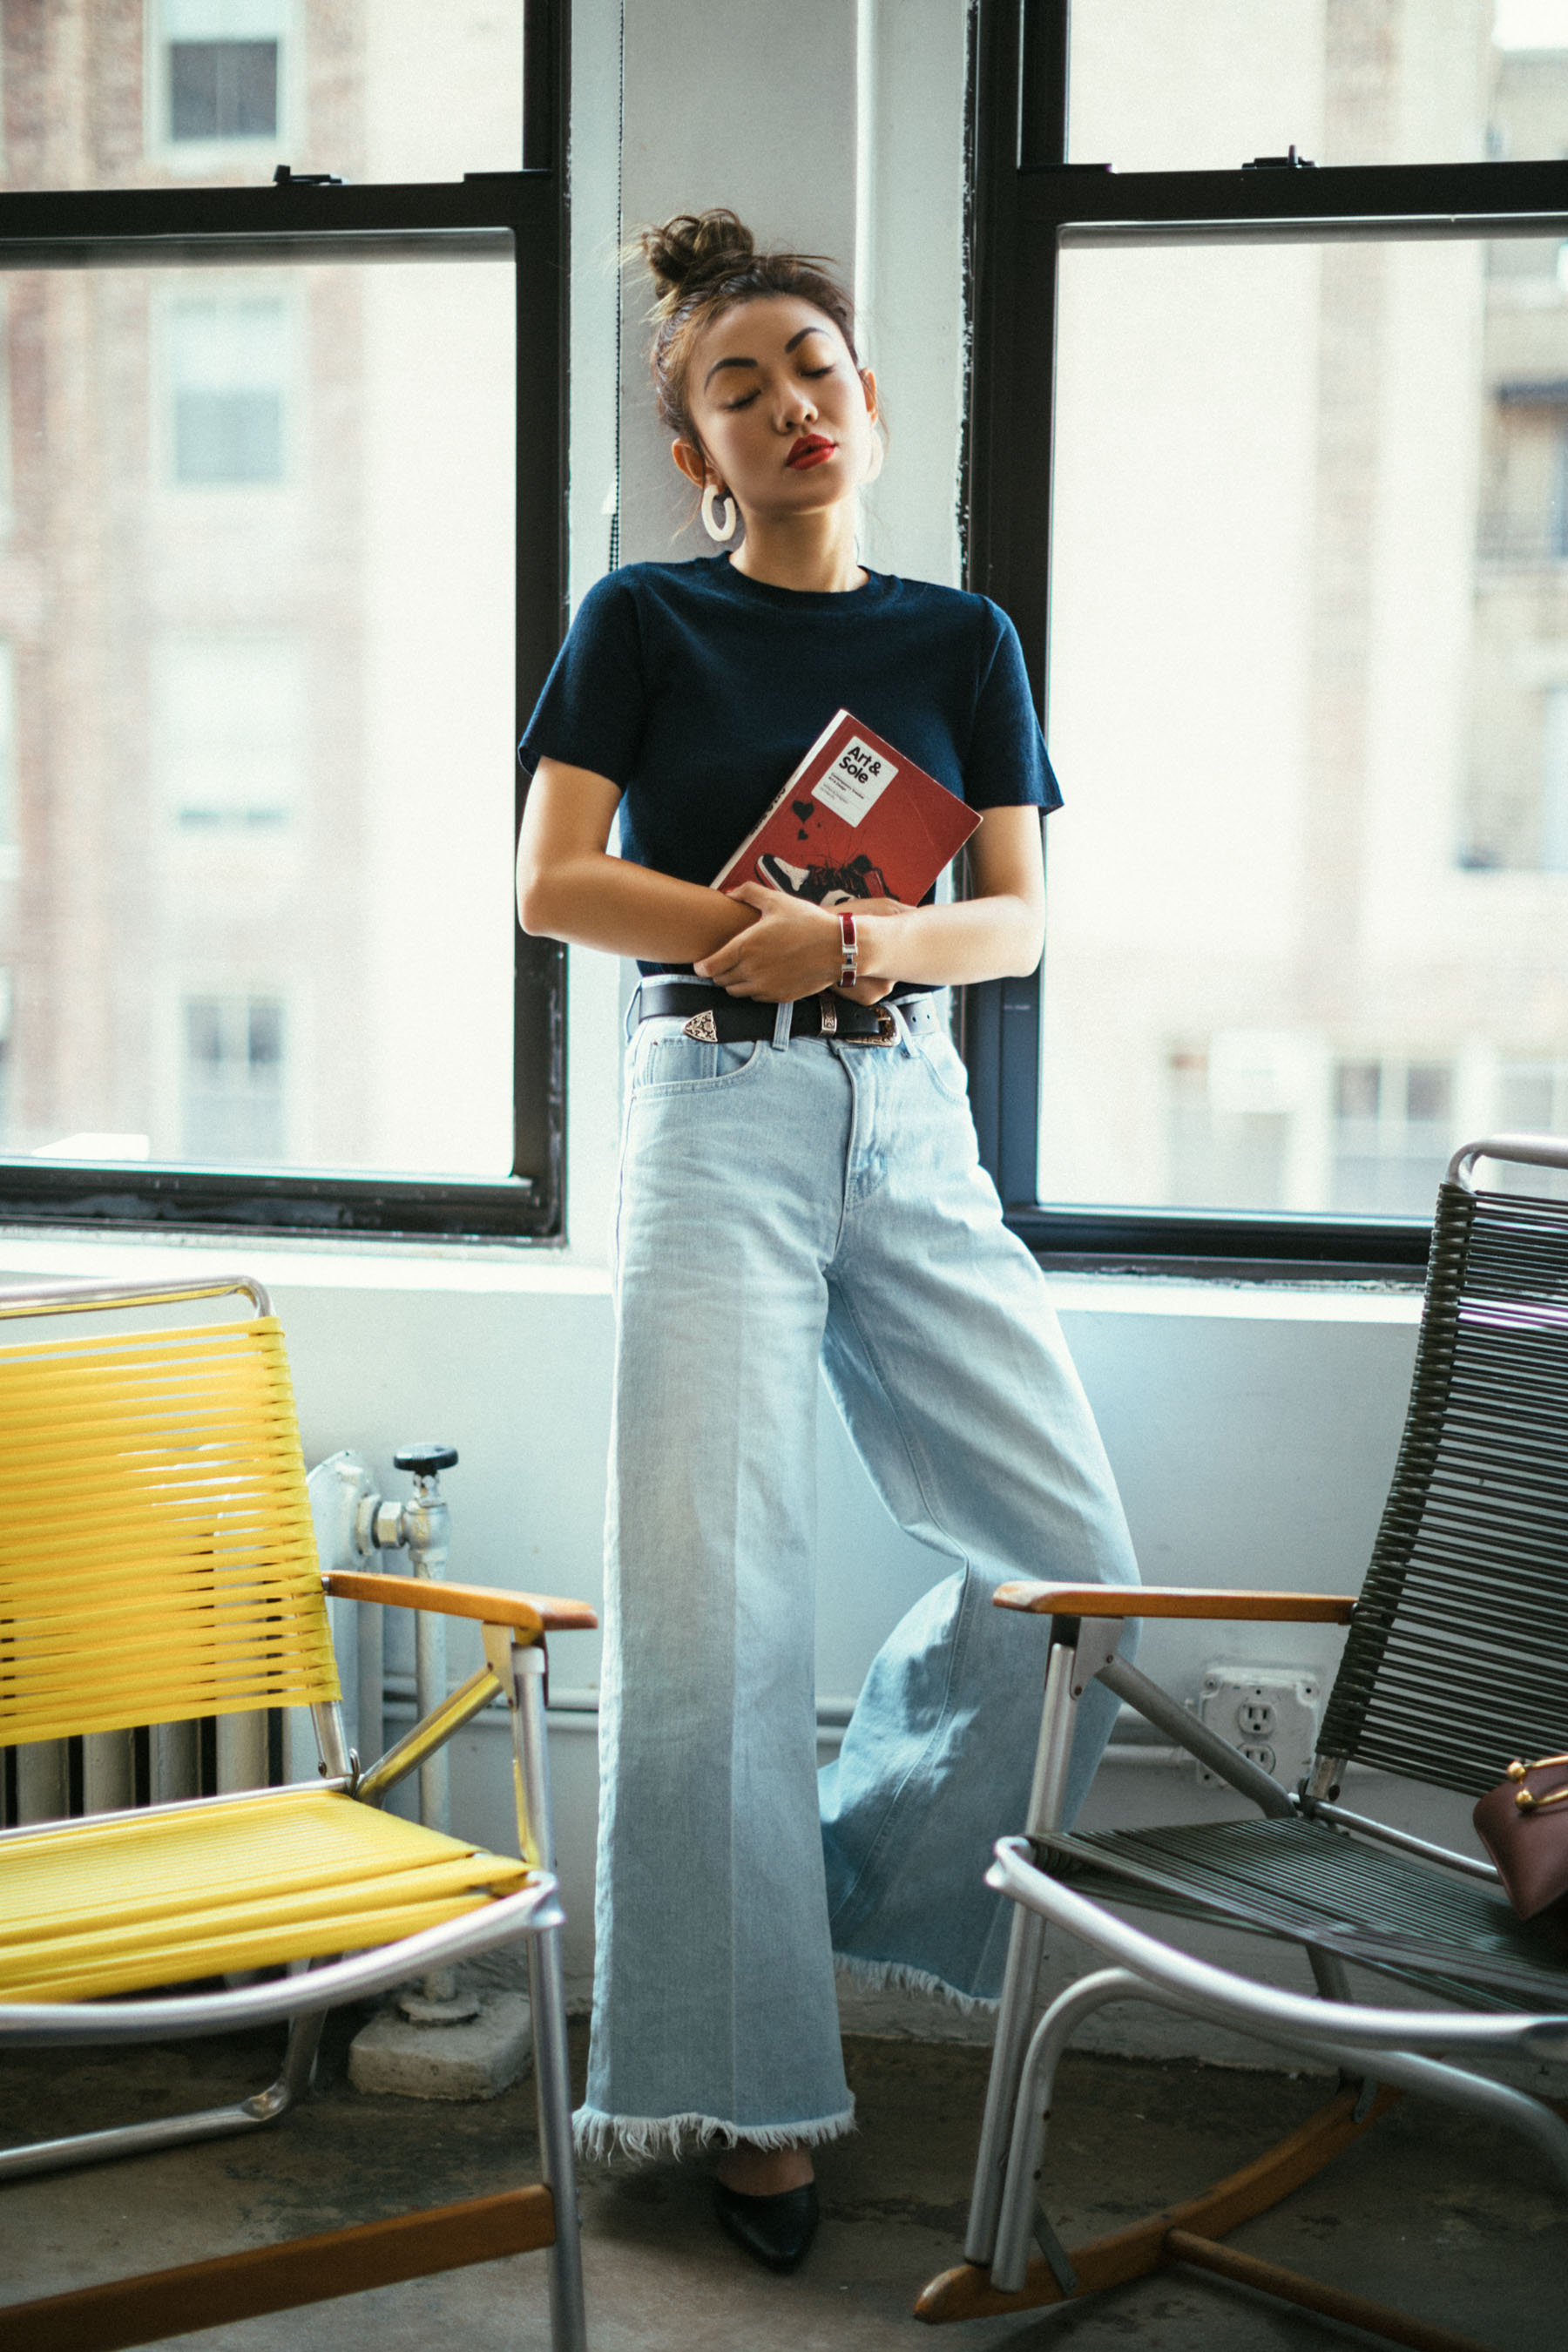
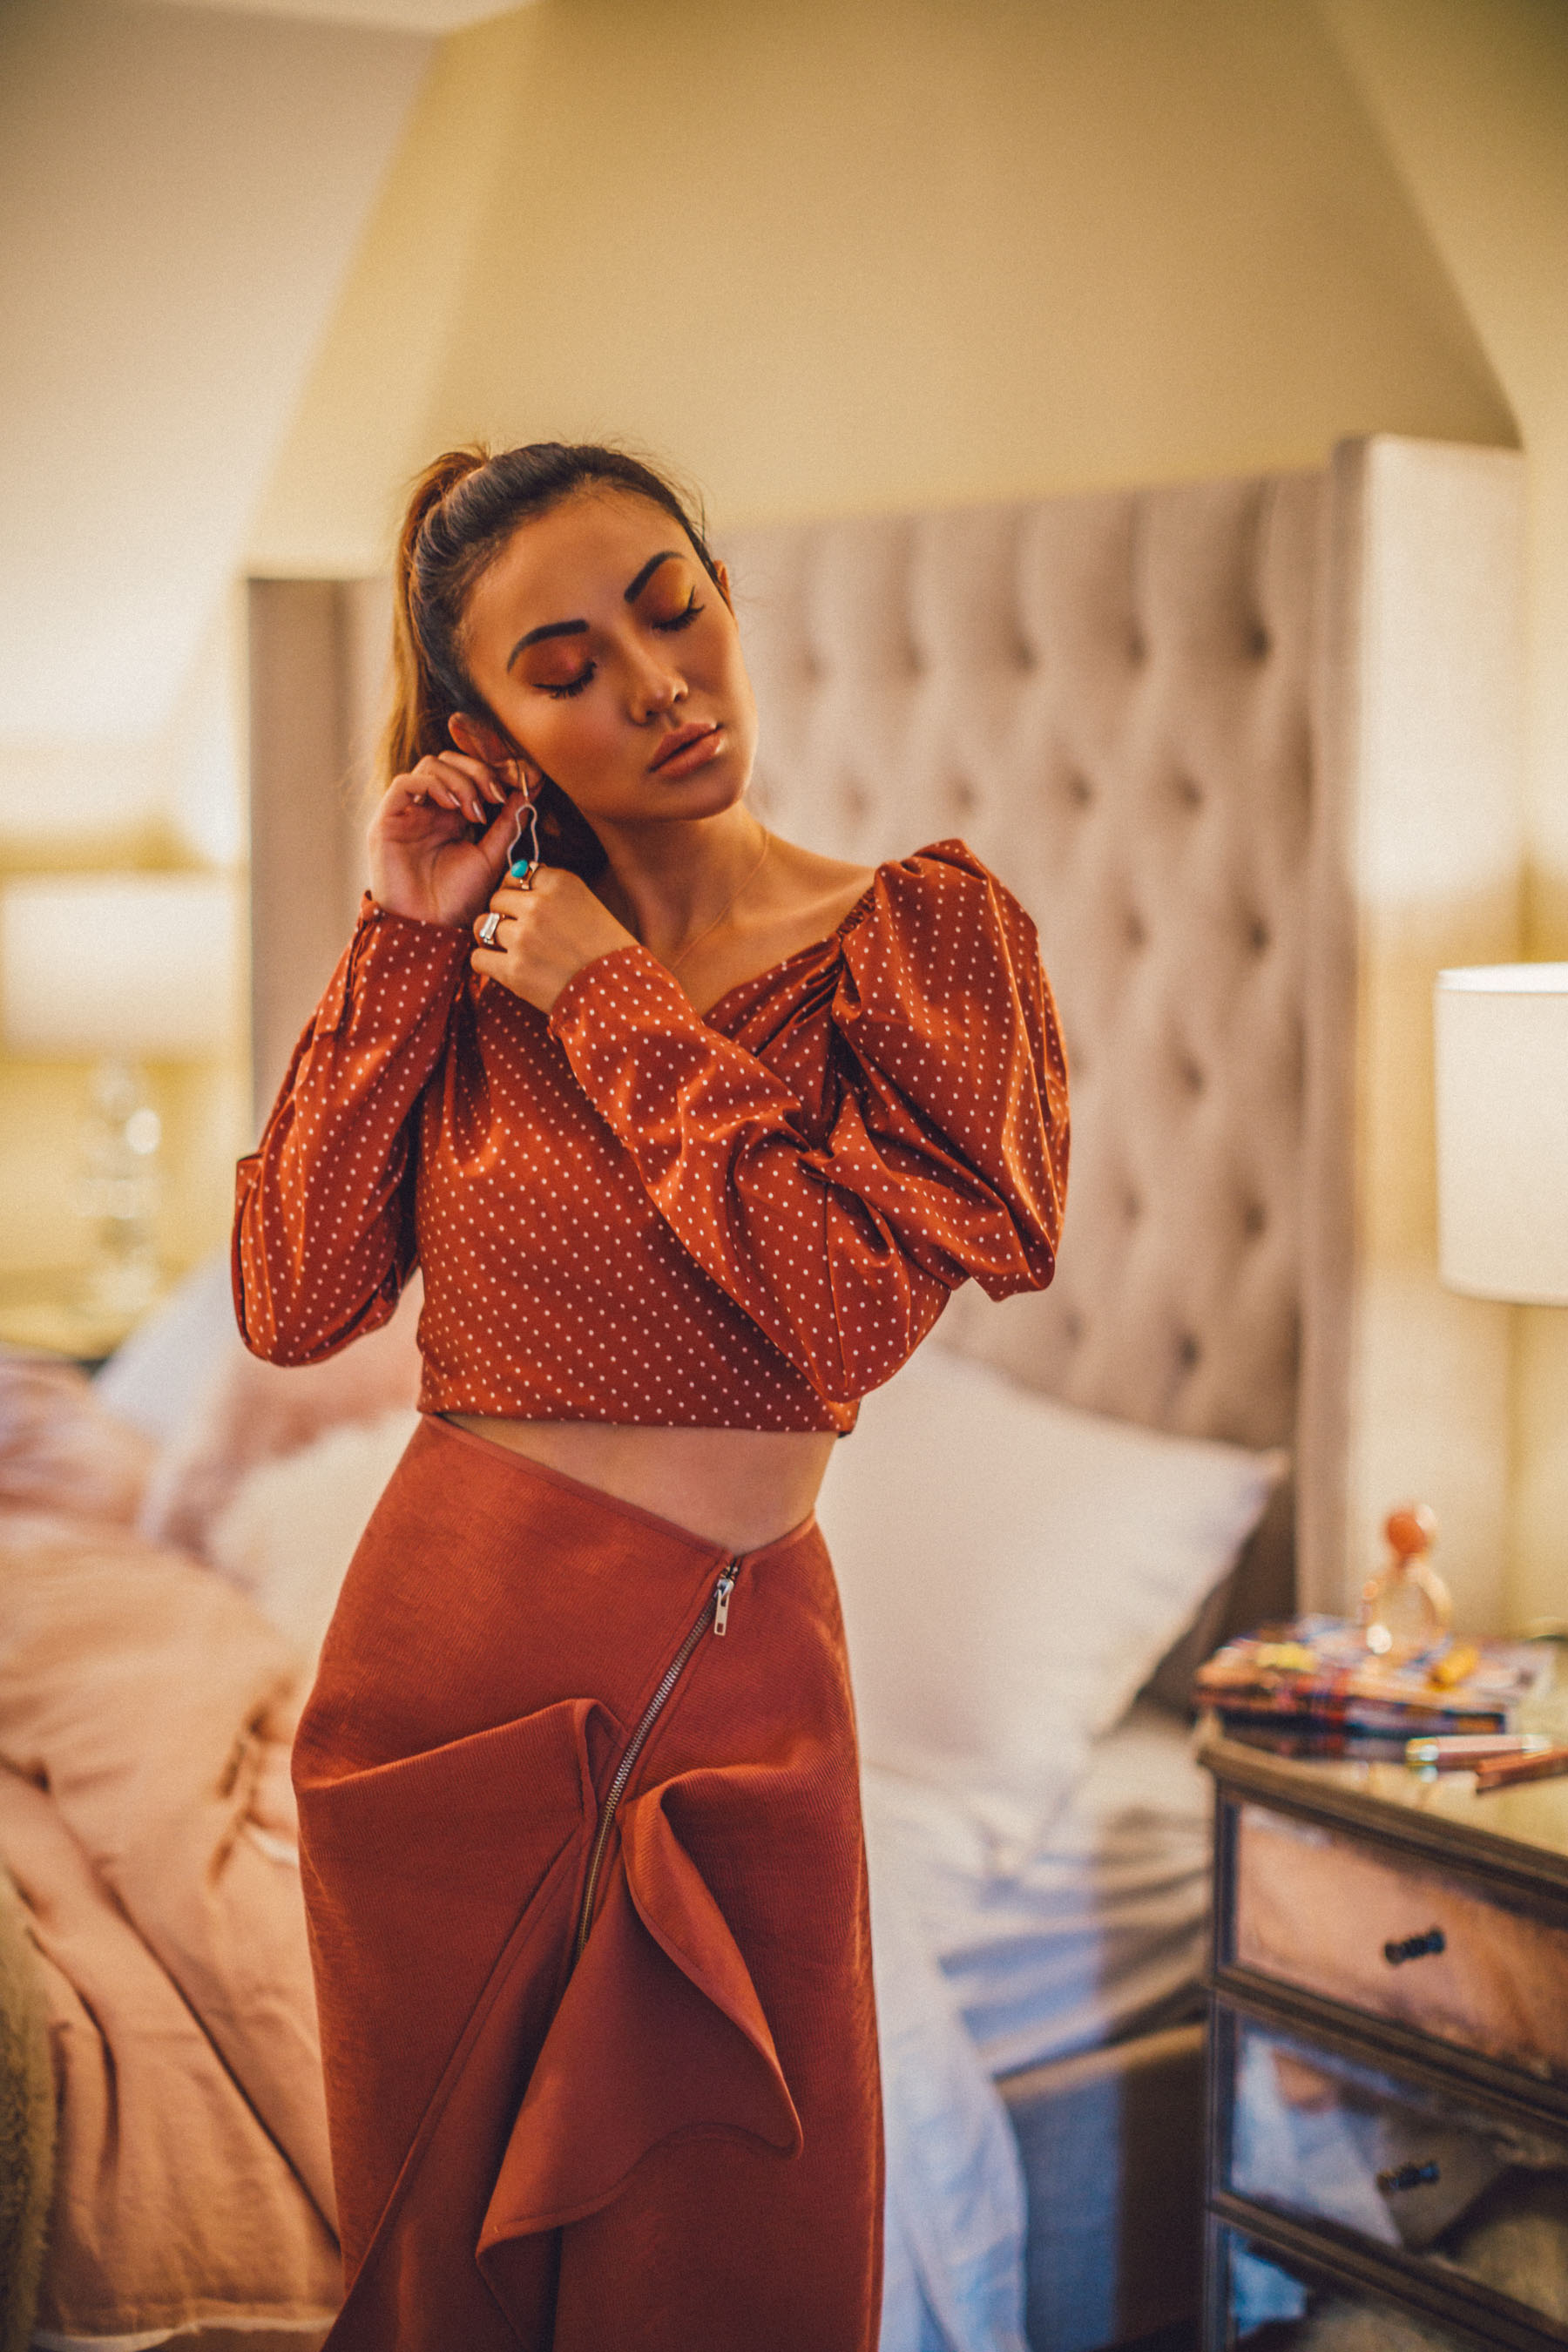
You’ll often look at a photo on a blog or Instagram without thinking about the styling, lighting condition, and location. However, all are crucial components of photography – and play a huge role in my work. A location has to make sense for a certain outfit and vice versa. Since “lifestyle” is the goal for everyone these days, think about how your outfit falls into the context of a certain location, and how light can magnify it. If you look at my three examples below, notice how the clothes complemented the setting (even in terms of the color) – and also how the lighting changed everything about them – especially the mood.
Key Lessons:
The light in a particular location can often times make or break a photograph. Pay attention to the shadows and highlights as well as the colors of the surroundings.
Use windows, lightly-colored walls, or even the concrete ground as natural reflectors if there’s too much shadow.
When starting out, practice shooting early in the mornings or evenings before the sun sets so you can avoid harsh light. Once you gain a better understanding of how to use light, you can begin to experiment with the intense sun at noon.
4. Practice makes perfect.
No one gets better at the photography game without practice. It’s just a rule of the game. You need to shoot A LOT but also honestly critique yourself. Don’t forget to reference photographs you really love and admire so you have a high-quality benchmark to push you to improve. Remember that those who practice the most become the most proficient.
Key Lesson: Practice, practice, practice! And when you’re done practicing, practice some more!
5. No photograph is complete without editing.
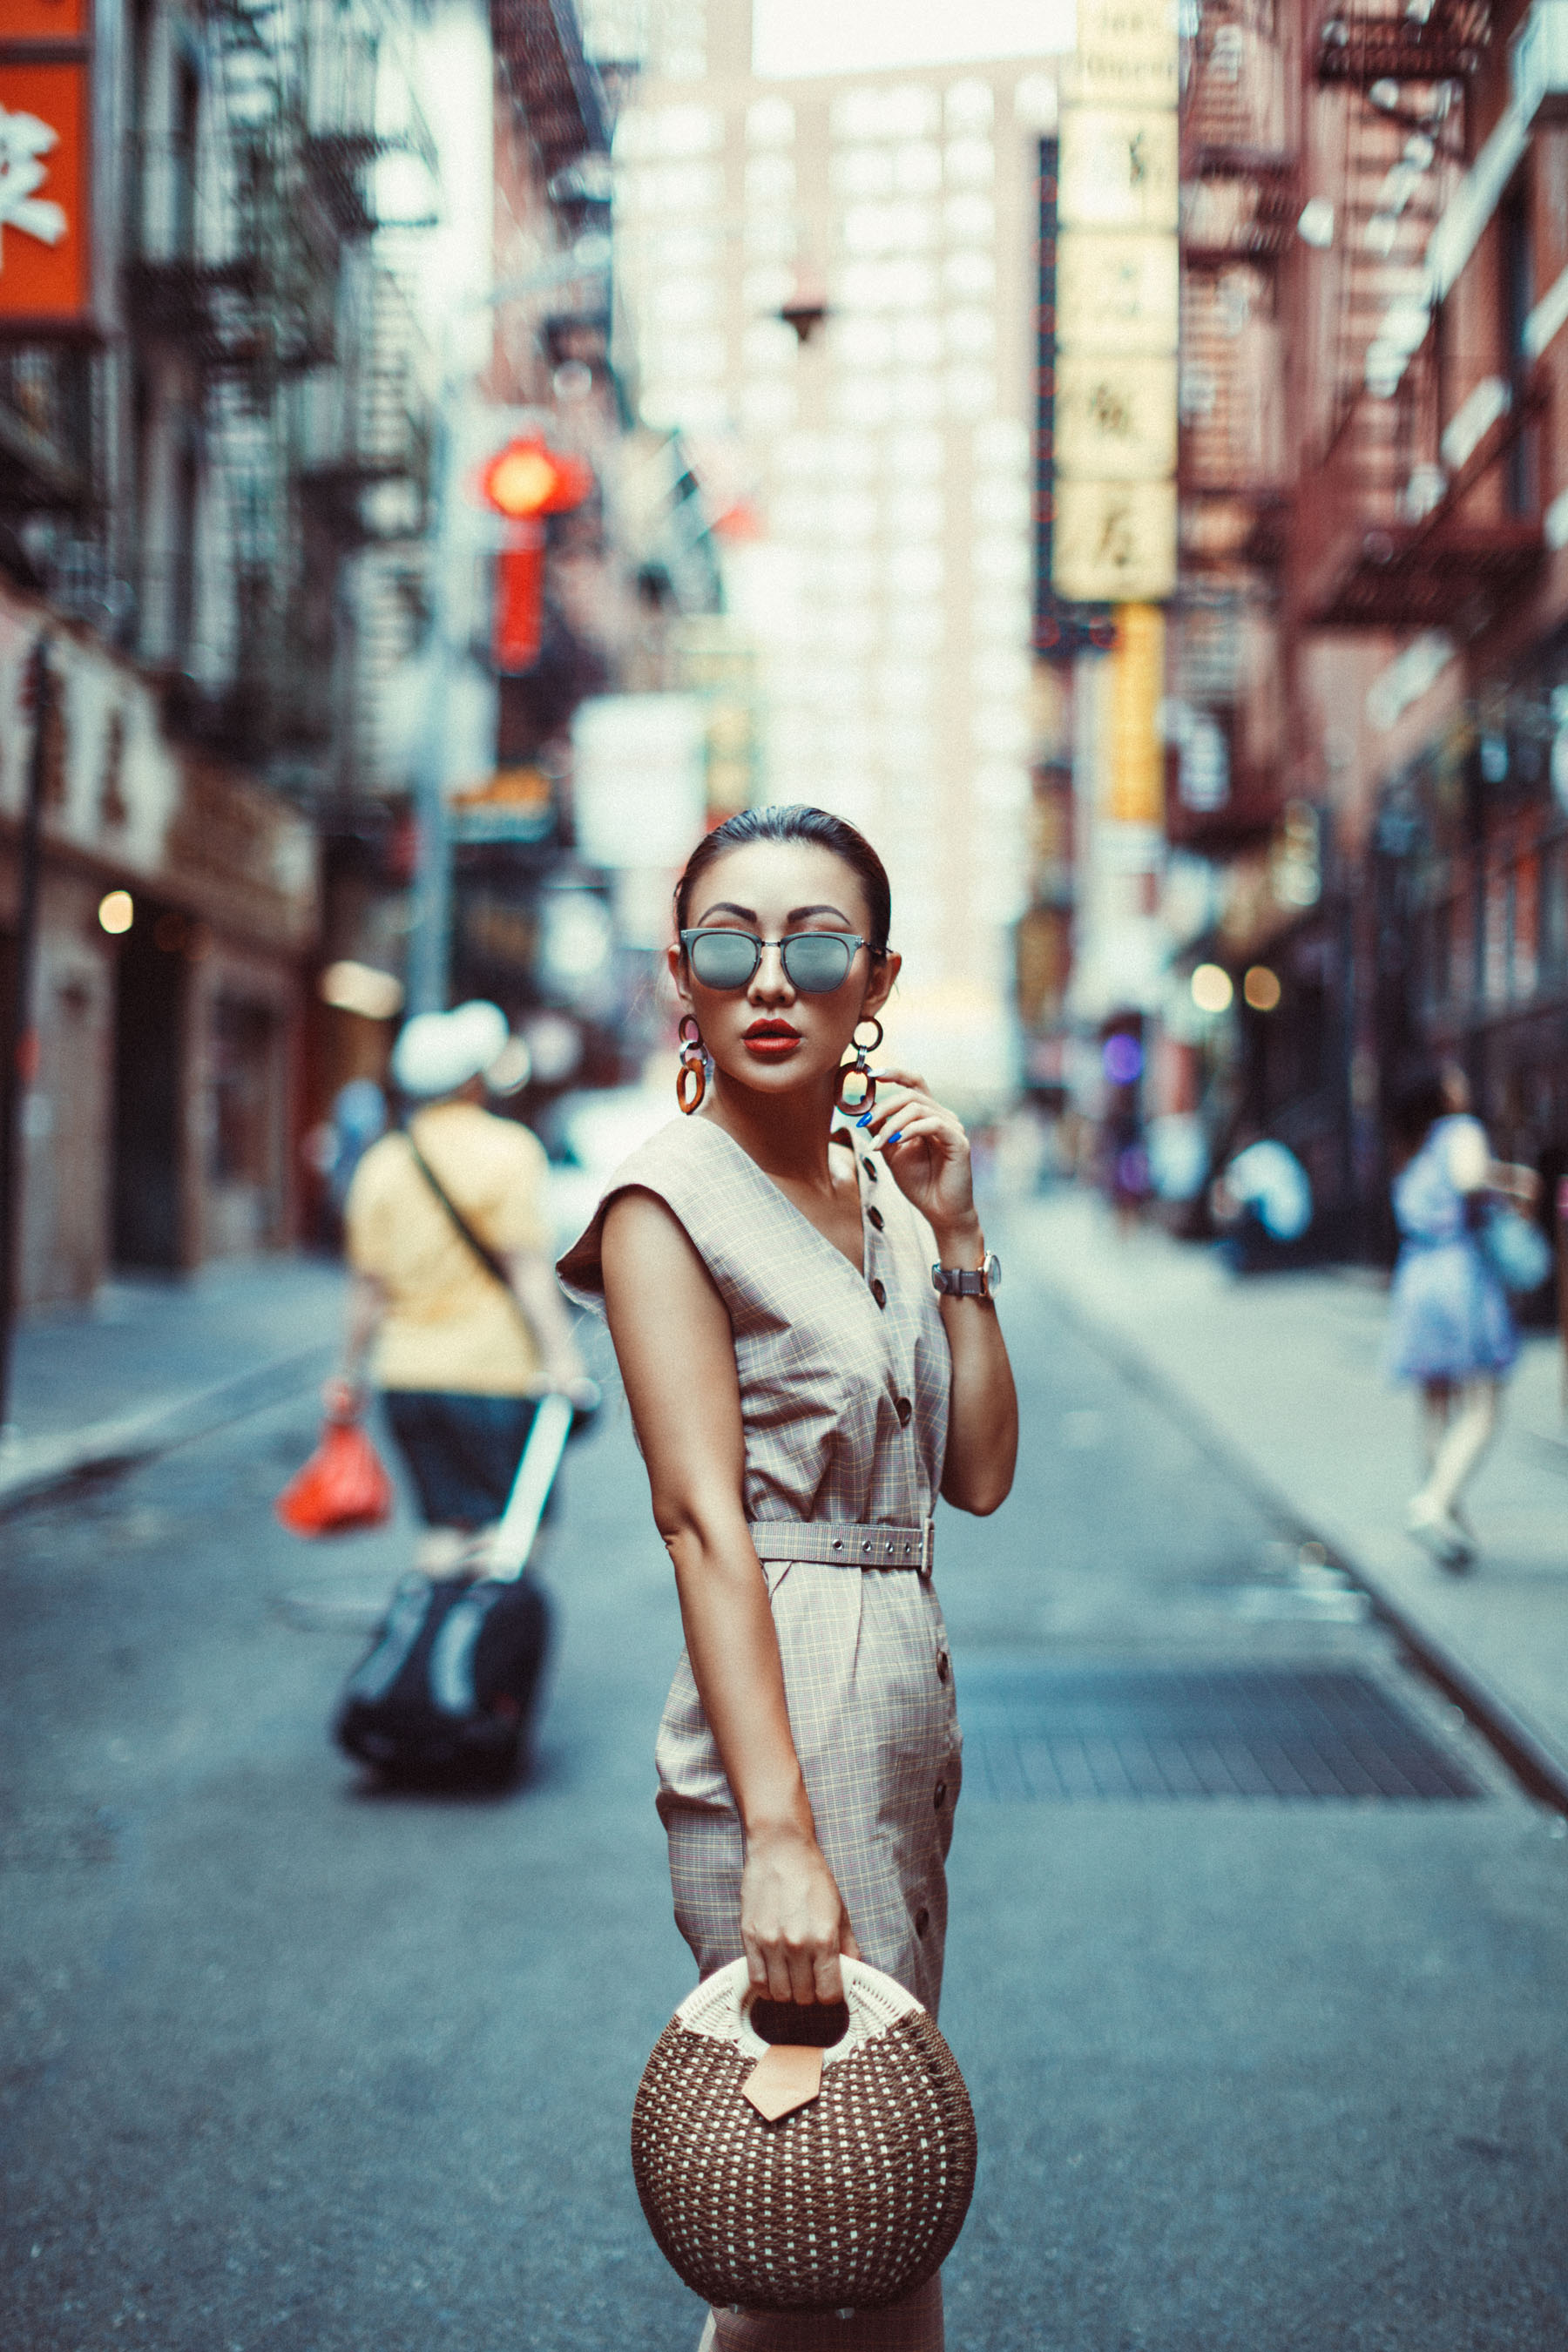
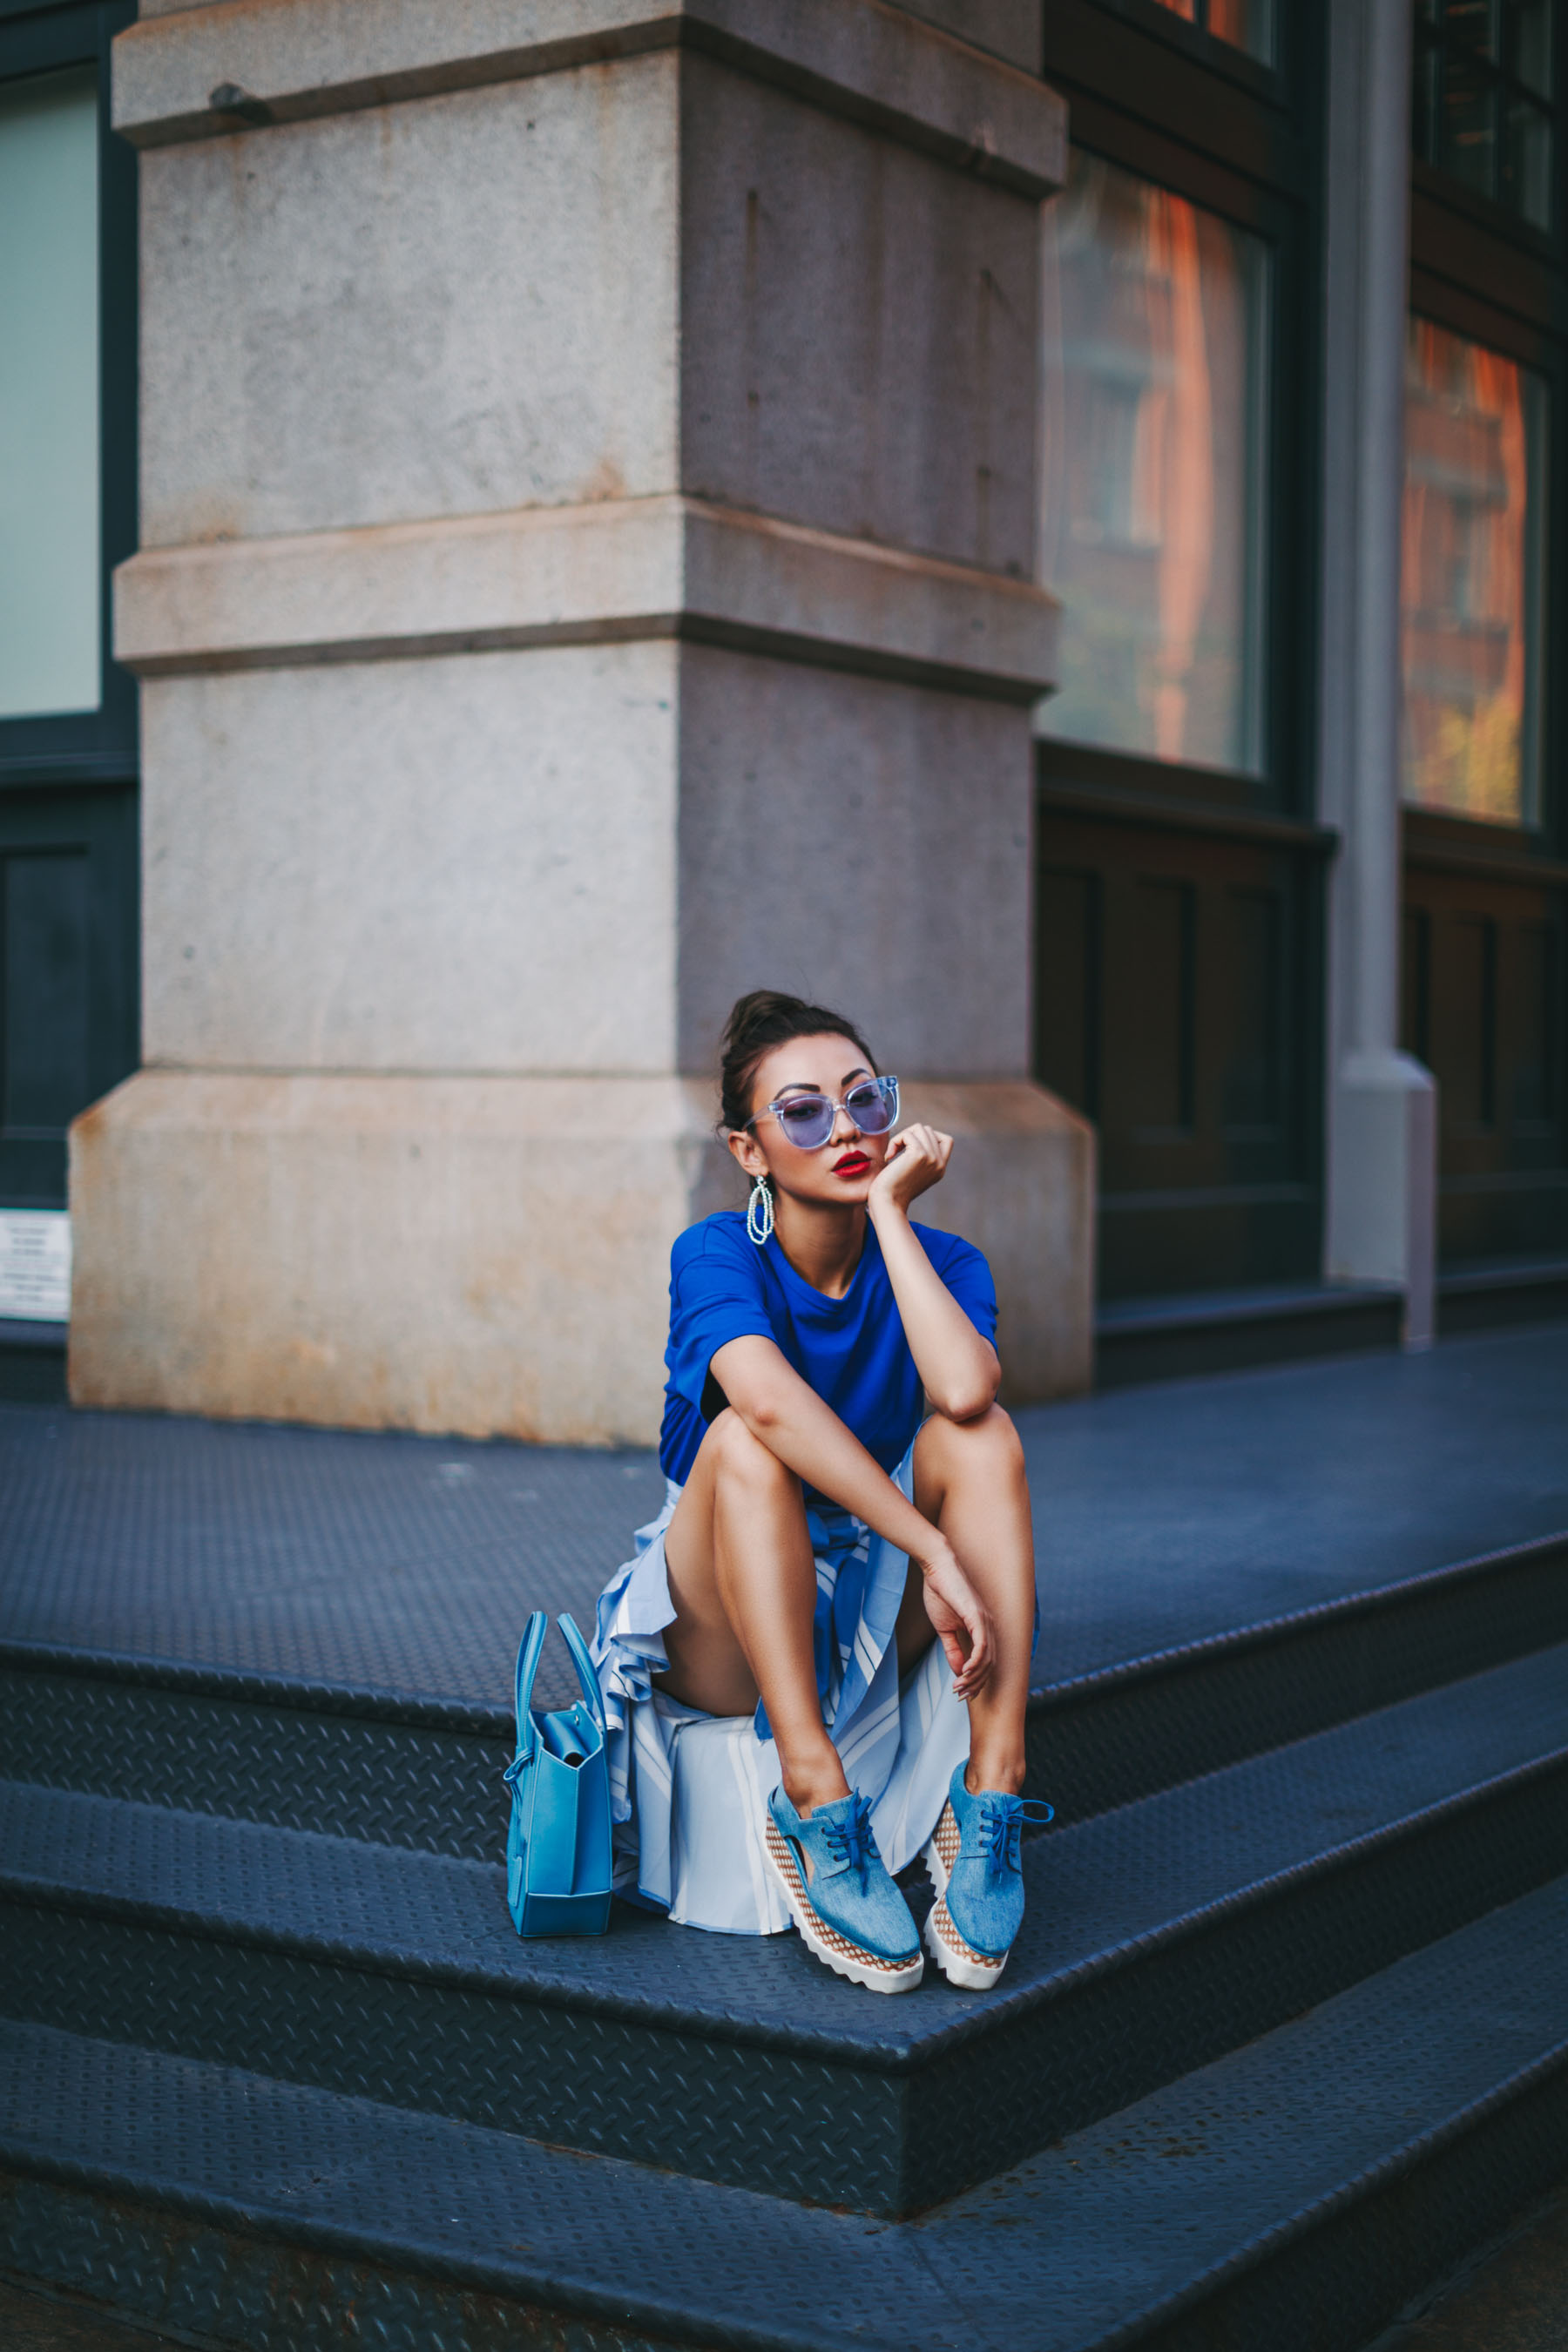
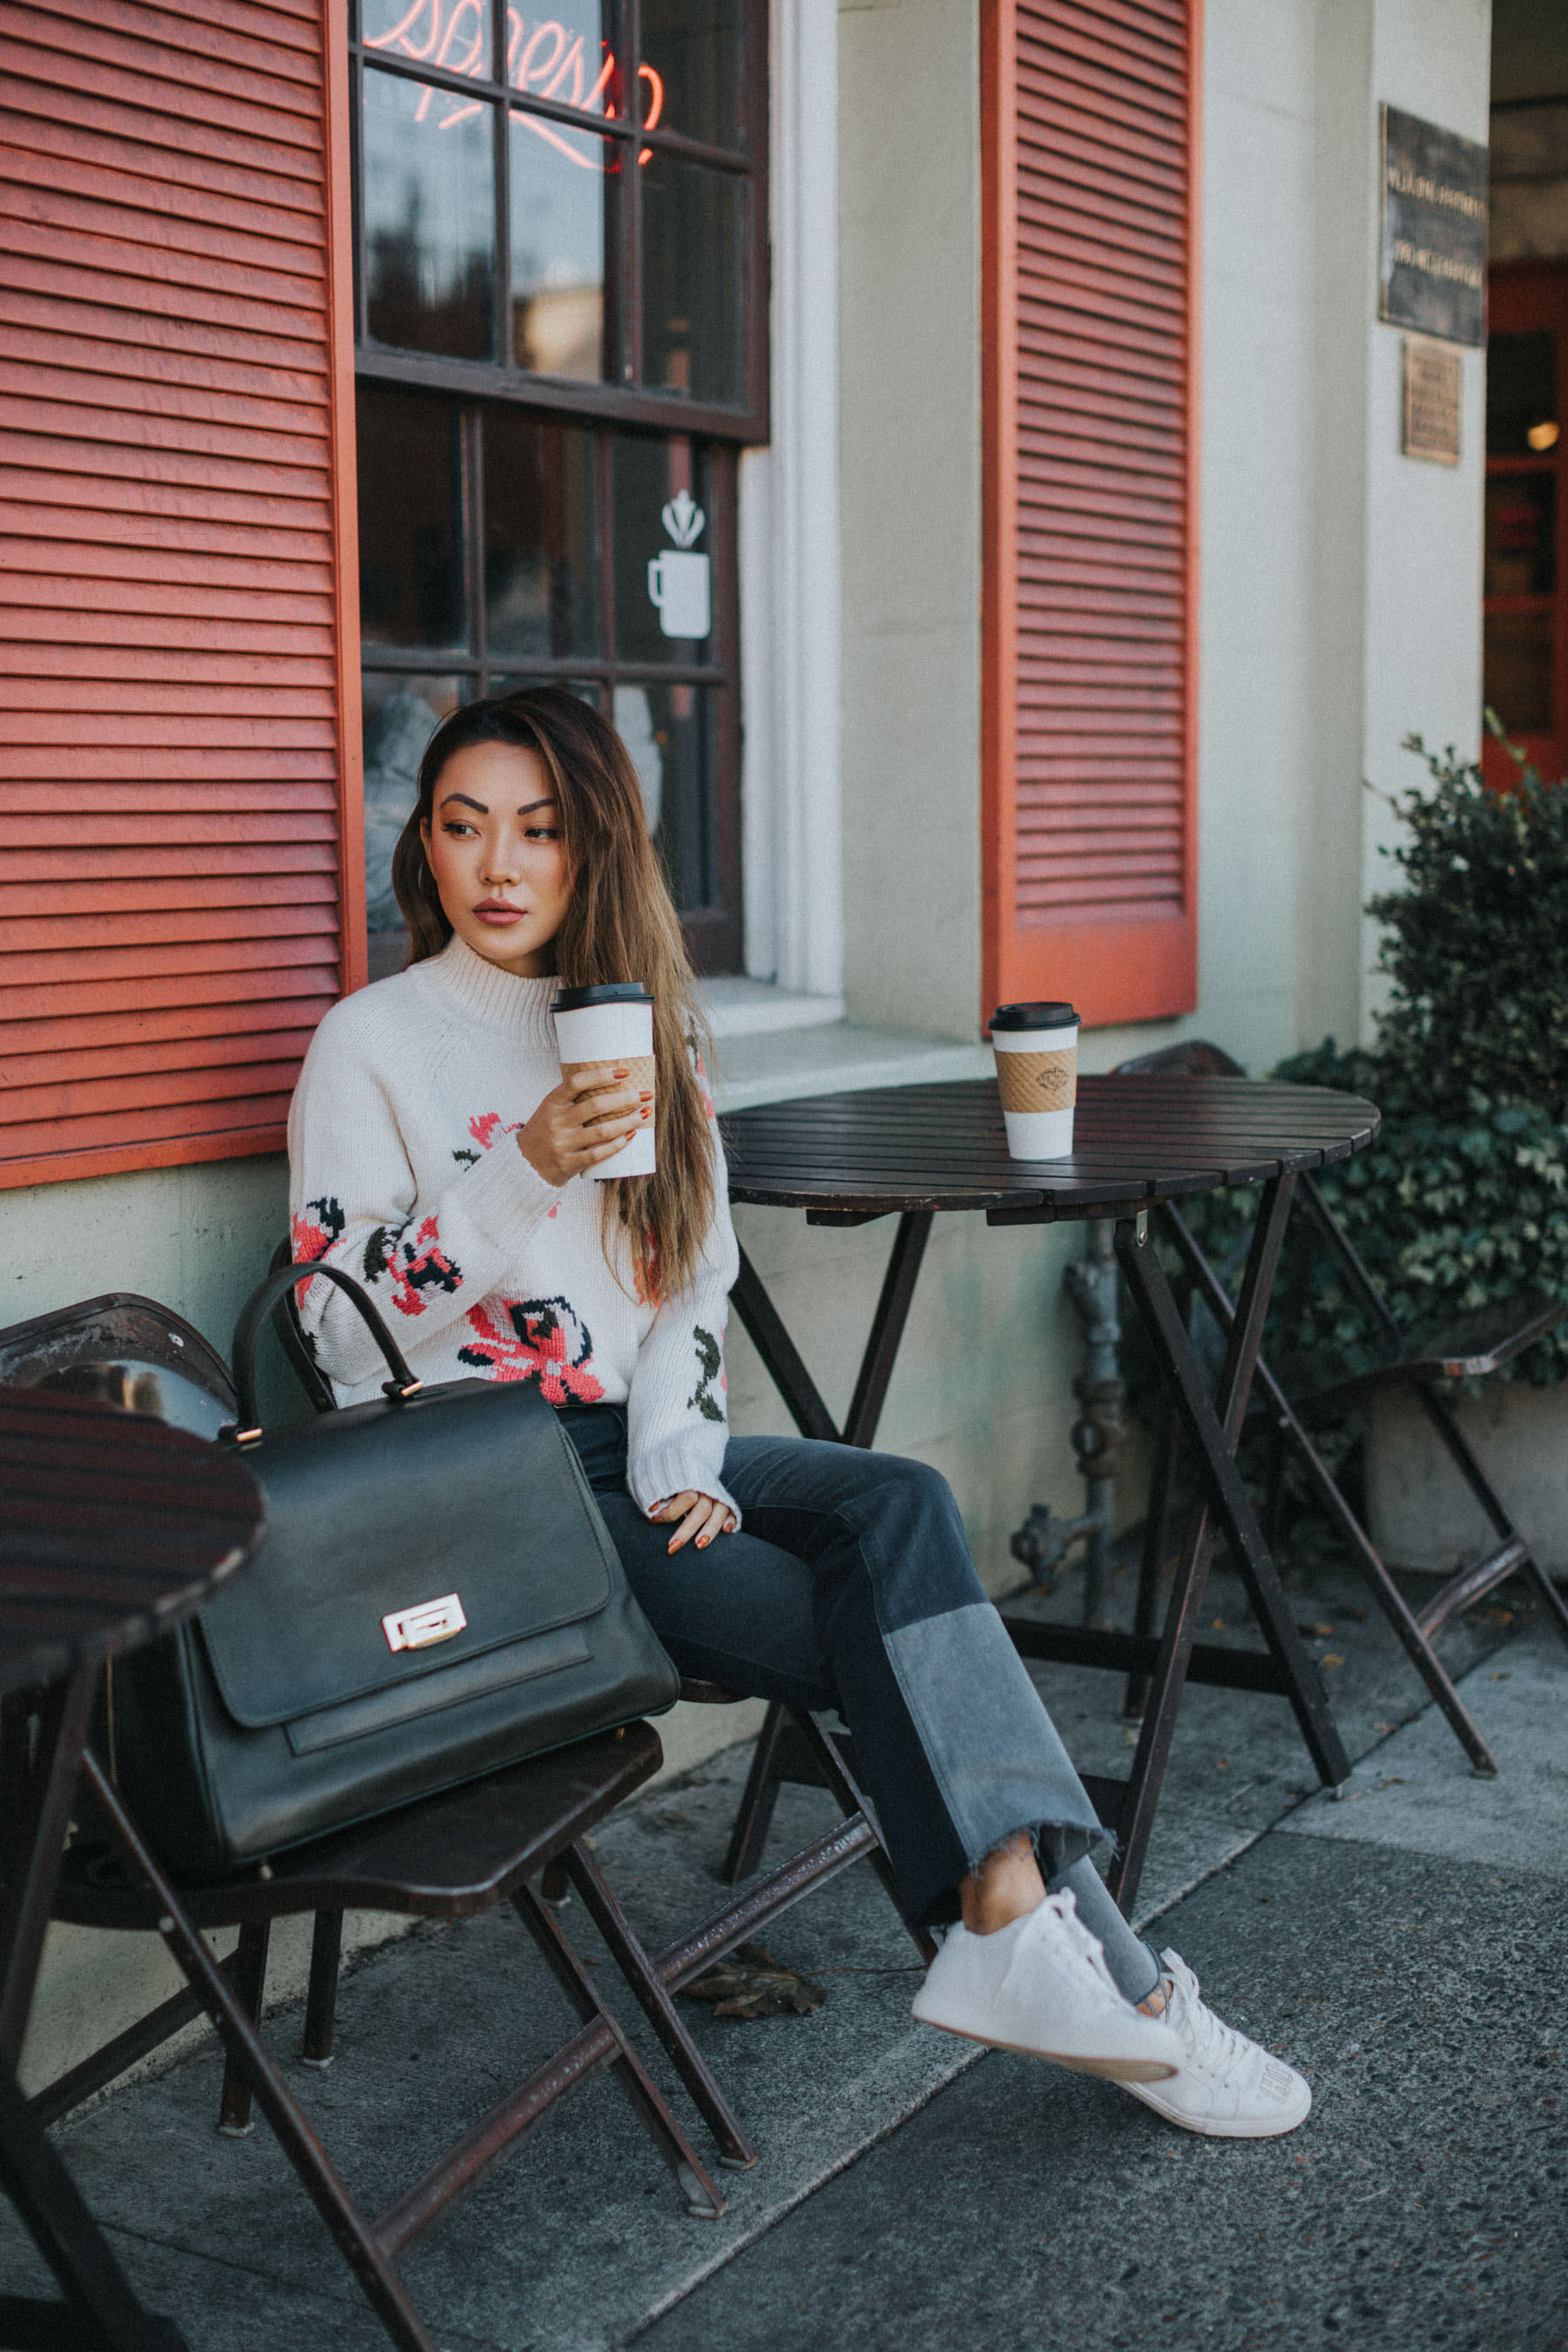
Finally, think of photo editing as the cherry on top. Your photos might look stellar straight out of the camera but throw it into Lightroom or Photoshop with some professional edits, and you’re on a whole new level. It’s the same concept as putting filters on an image before you publish it on Instagram. I promise to do an in-depth post on this topic soon, but in the meantime, take look at some of my favorite edits over the last year.
Key Lesson: Photo editing is a great way to bring out vivid colors and contrast. Use this to your advantage.
If there’s anything you’d love learn about in greater detail, whether it’s blogging or photography, feel free to ask below and I’ll be sure to address them!


